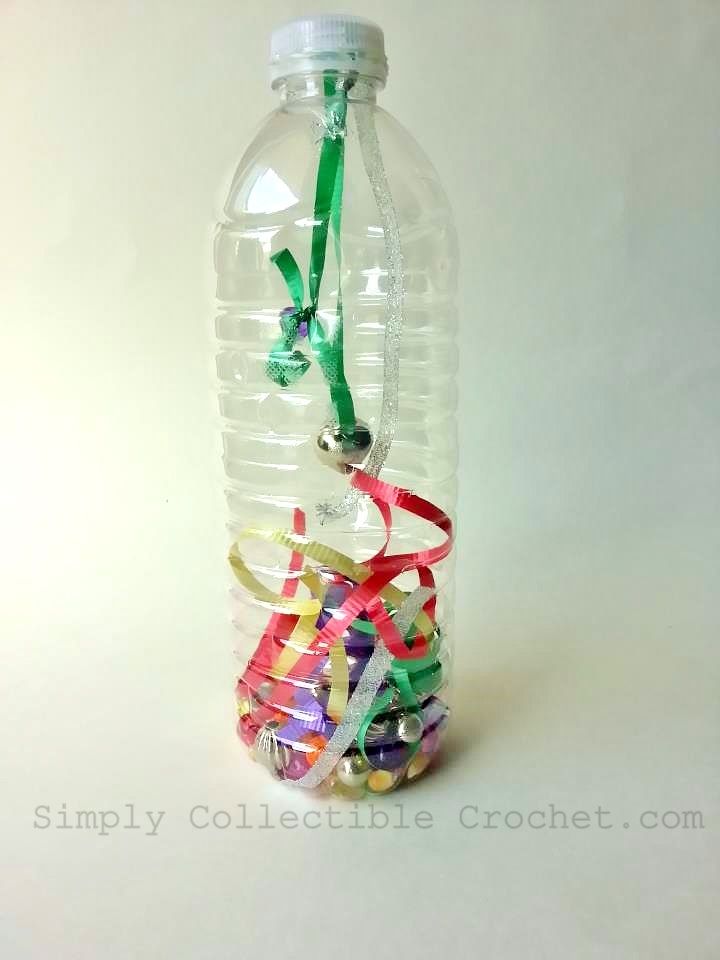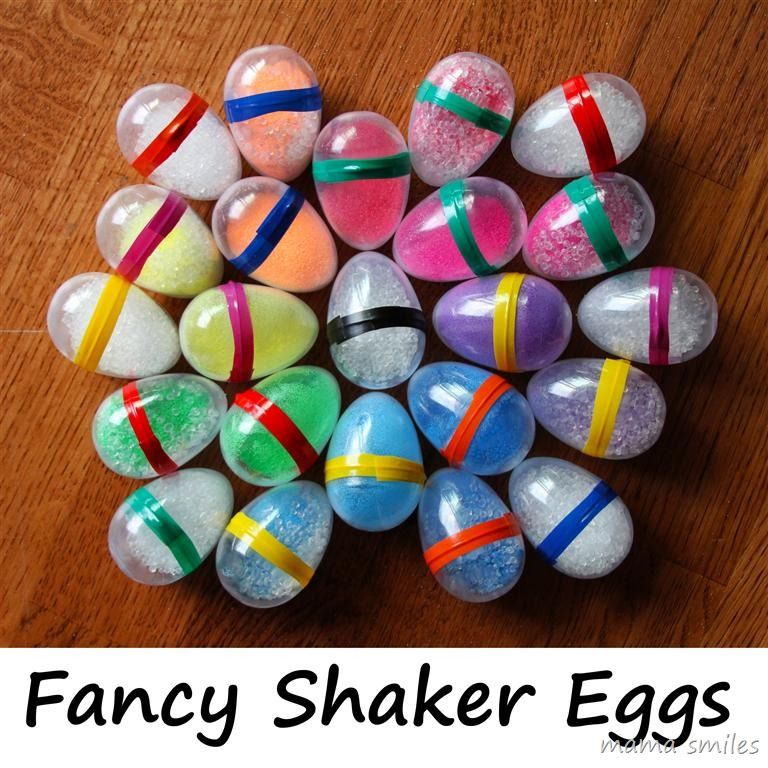
This simple, sandy beach rattle makes a great musical craft whether you live near the ocean or are just dreaming of warmer weather and seaside play!
Supplies
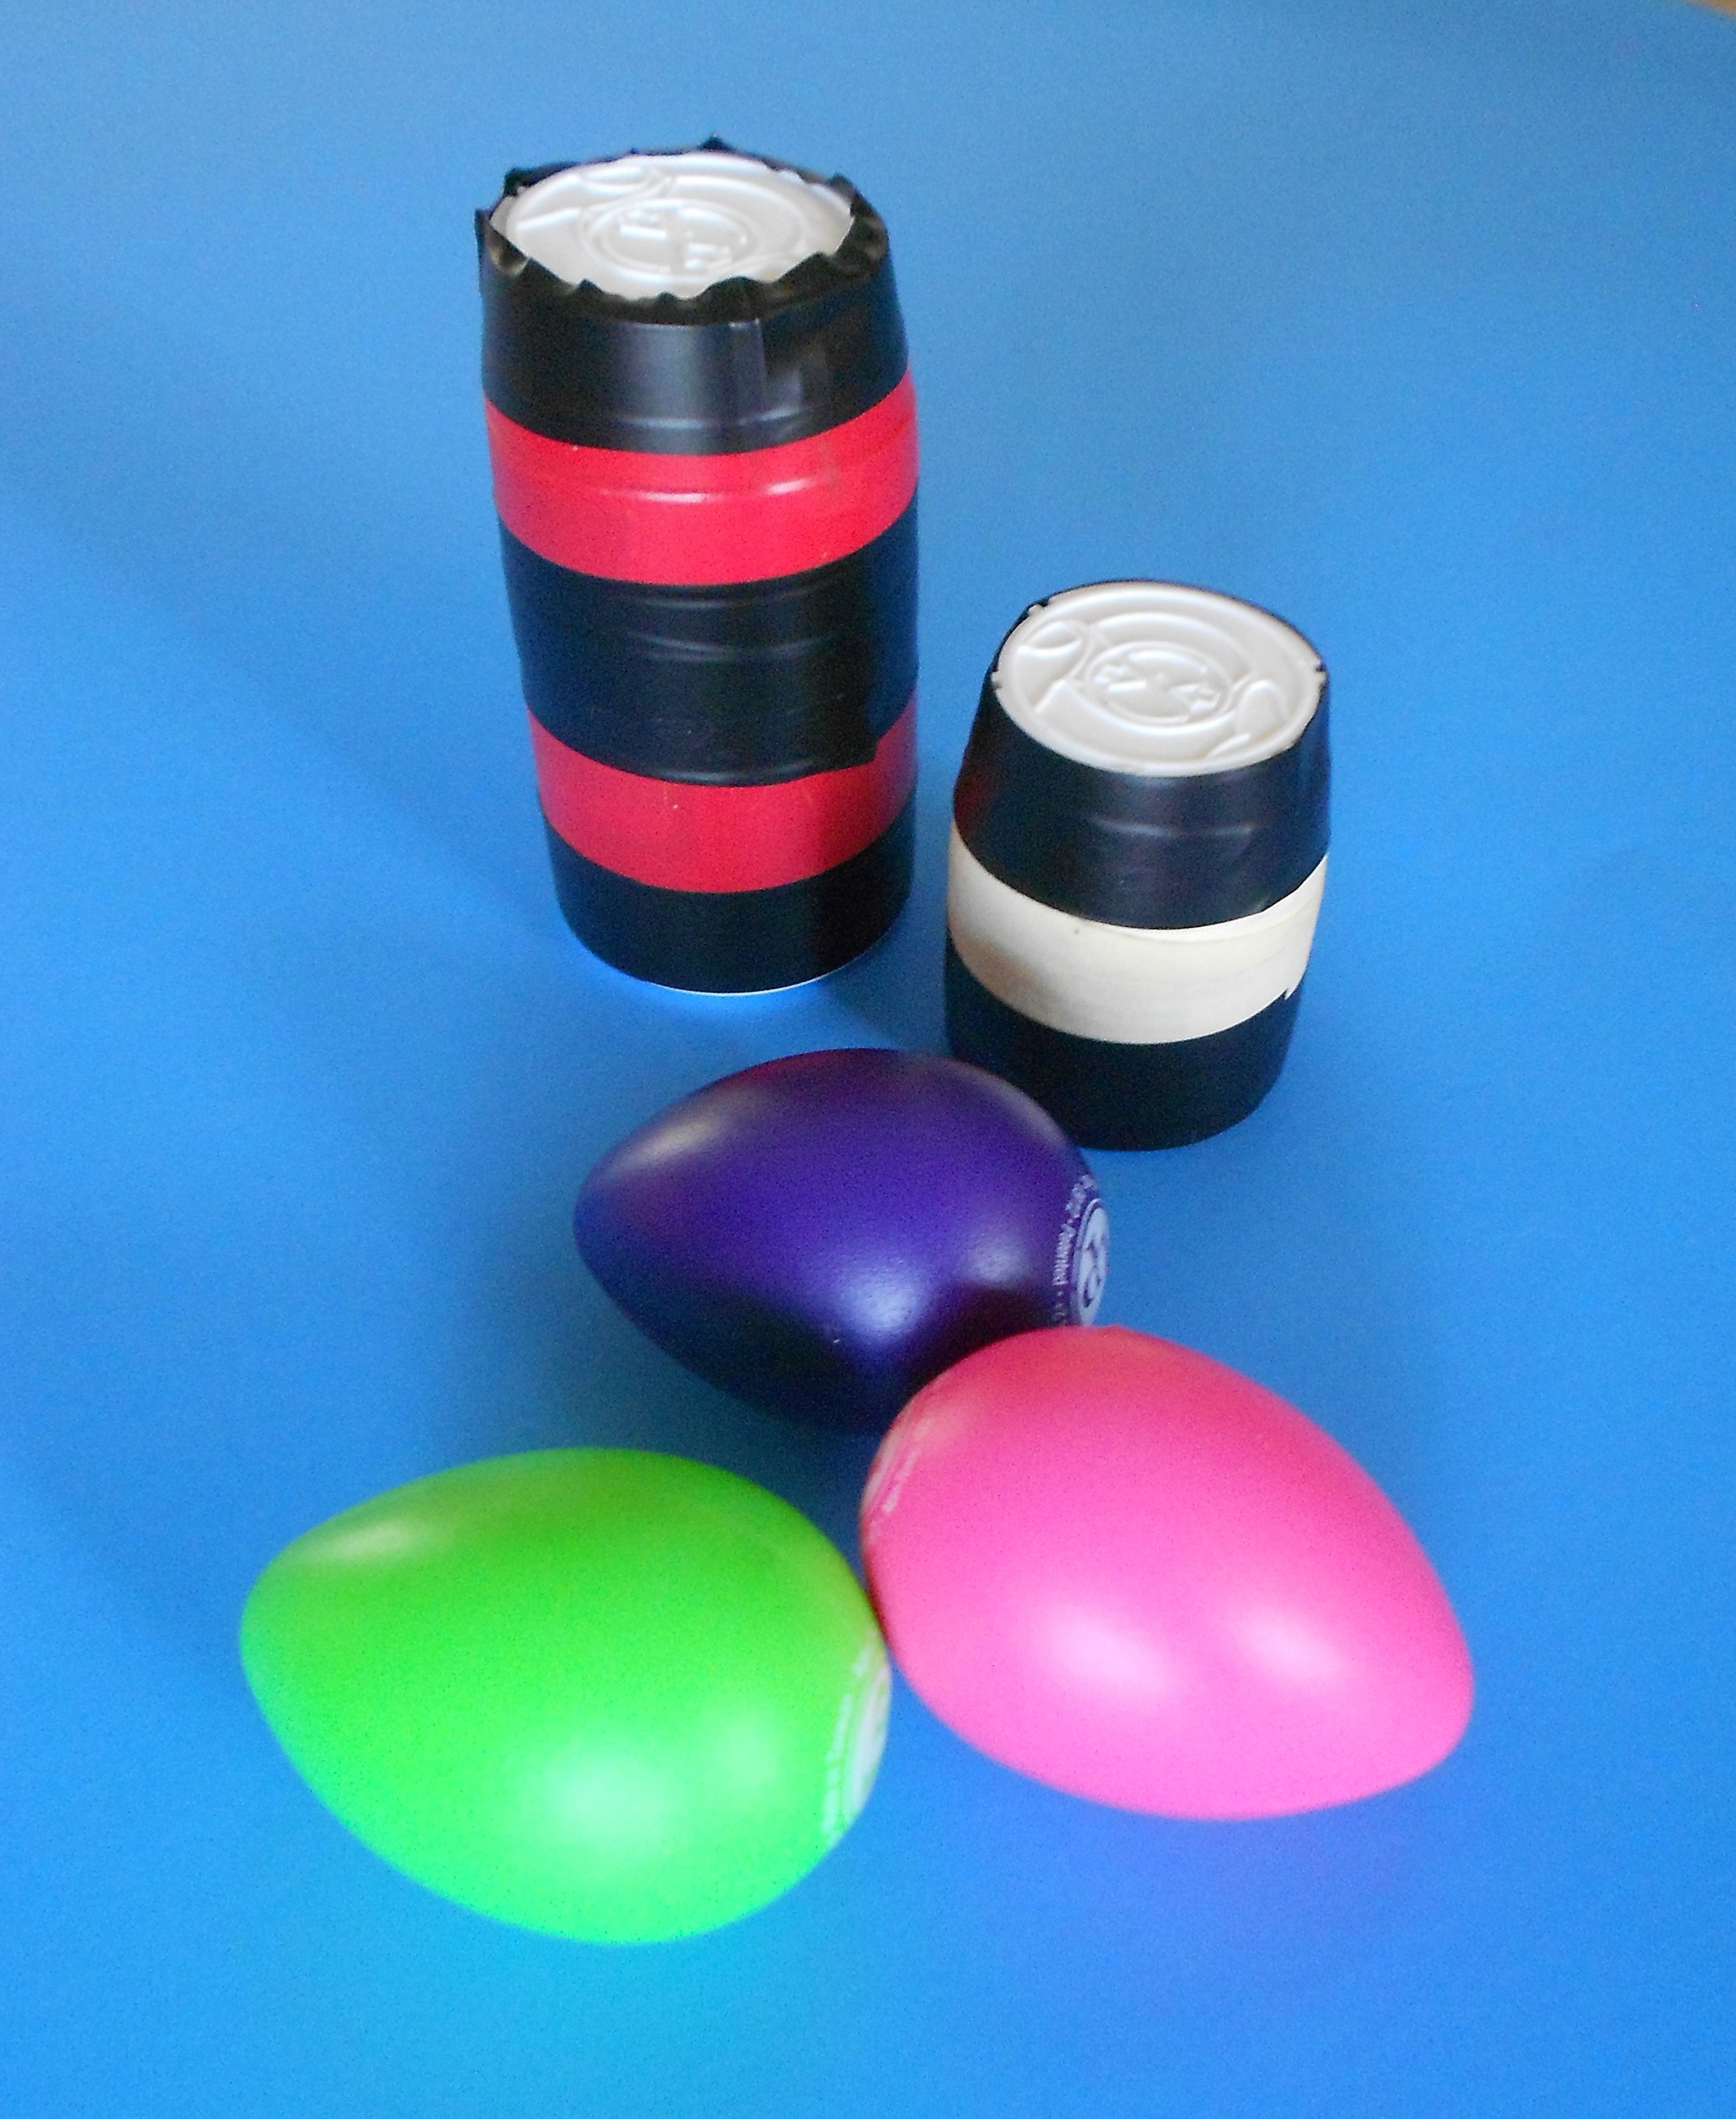
 Clear recycled bottle – any size or shape.
A small amount of sand, salt or sugar. (You can also substitute rice, couscous or tiny pasta for the same effect)
Funnel
Small shells, pebbles or tiny treasures for inside the rattle
Colorful silk or artificial flowers
Electrical tape (to seal rattle)
(Optional) glitter, colored sand, colored rice
Make Your Own Rattle
This craft couldn’t be easier.
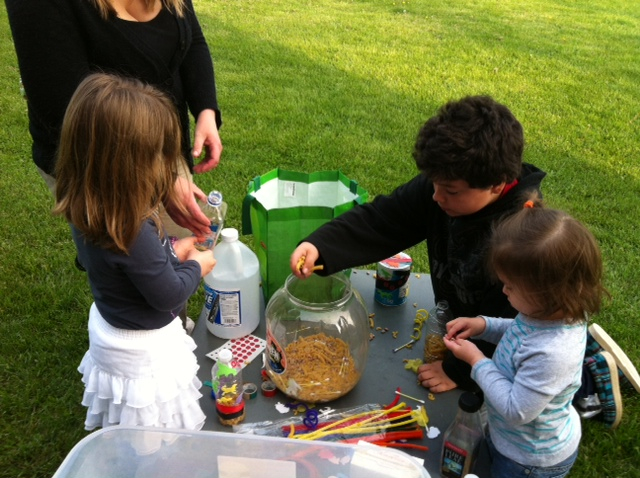
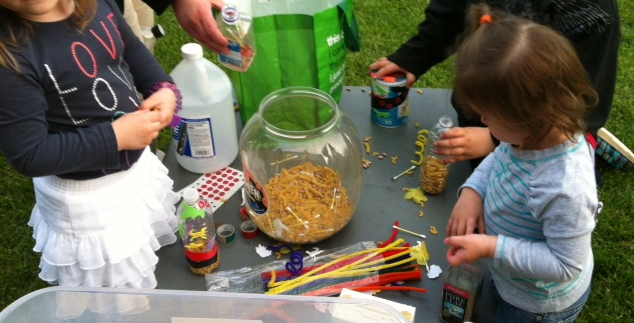
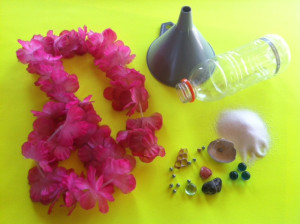
Save, clean and dry a variety of clear recycled containers and assemble sand, salt or sugar along with a funnel, sturdy tape and other decorative goodies you might want to add to this project.
Using the funnel, fill the container with a small amount of sand, salt or sugar. Put the lid on and listen to what the rattle sounds like. Adjust (with more or less sand) until you find the sound that’s most pleasing.
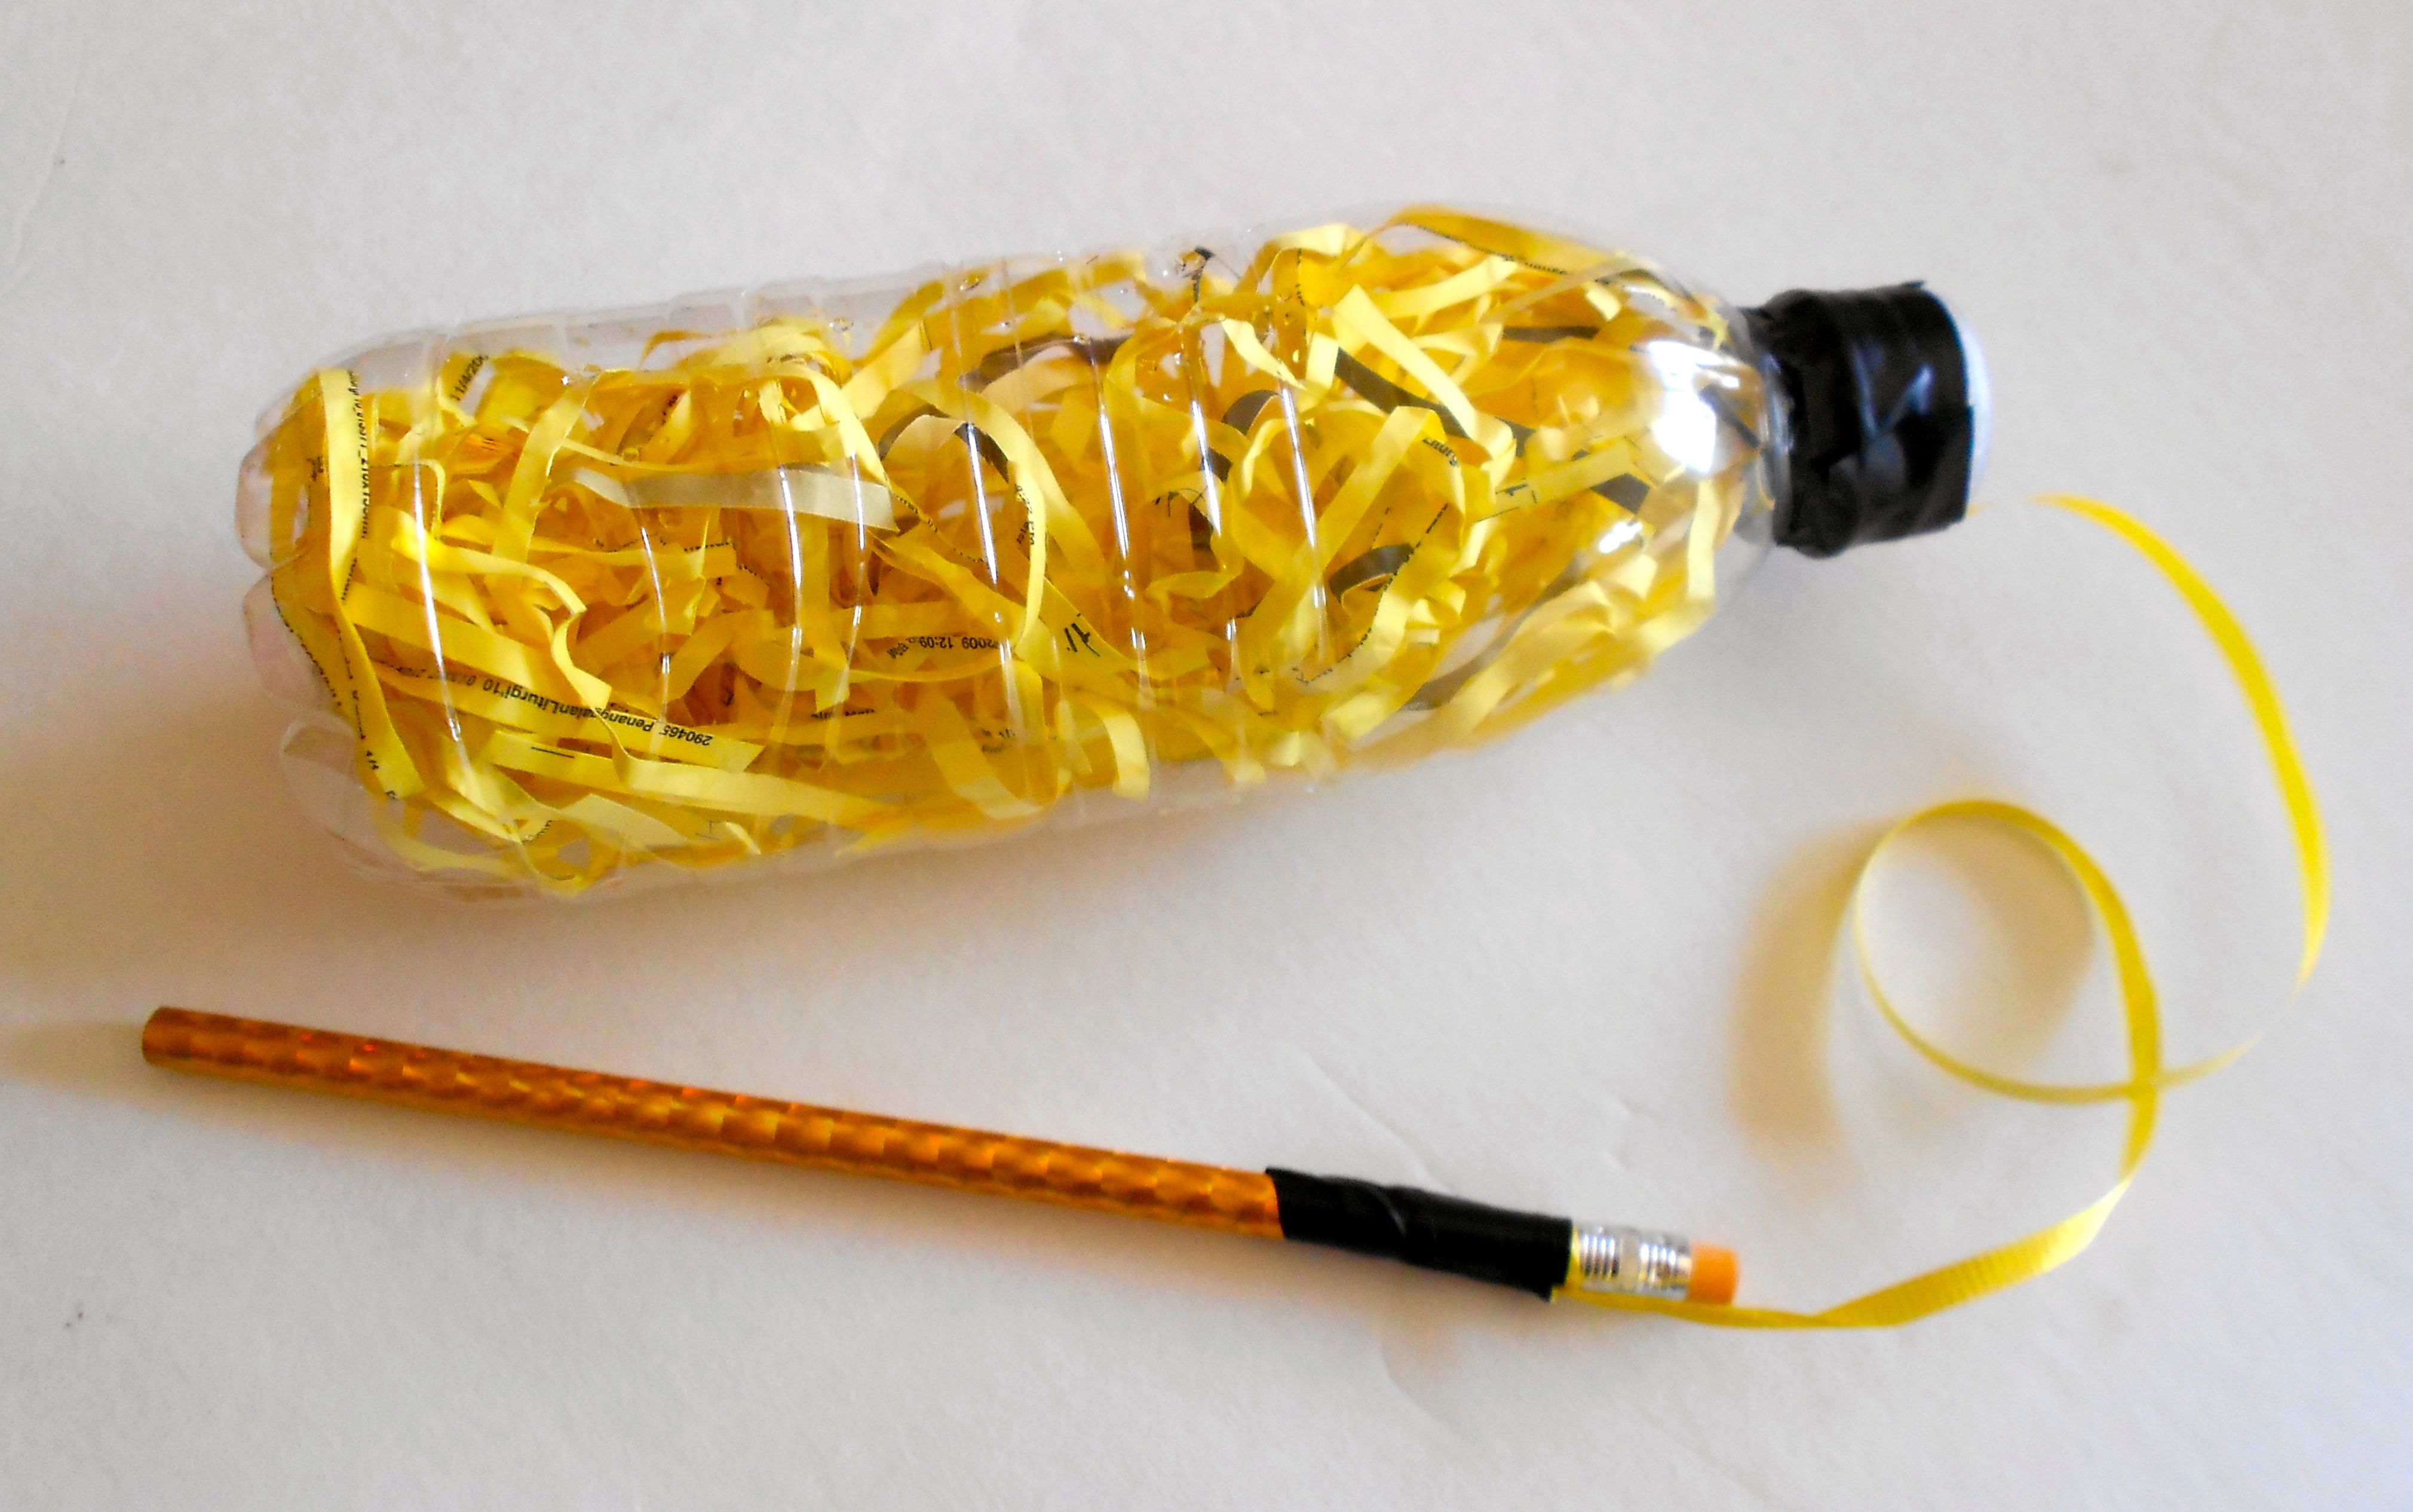
Here’s a hint. Less sand, salt or sugar sounds and looks better, but feel free to experiment and see what you can create. When you’re done, seal the rattle up with sturdy tape (such as electrical tape) to keep the project completely child-safe.
 Beach Treasures
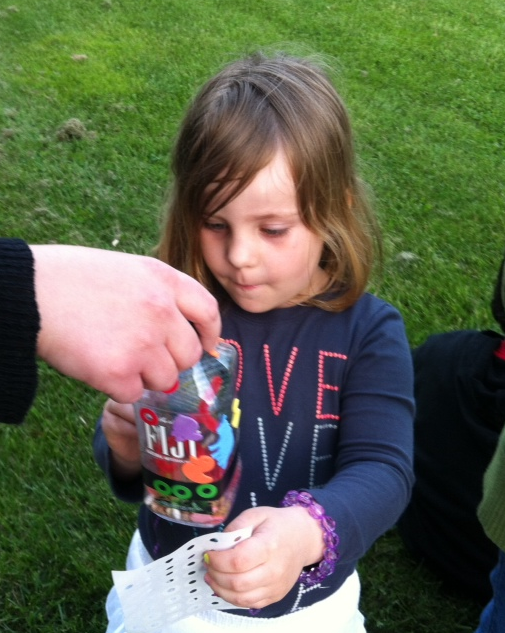
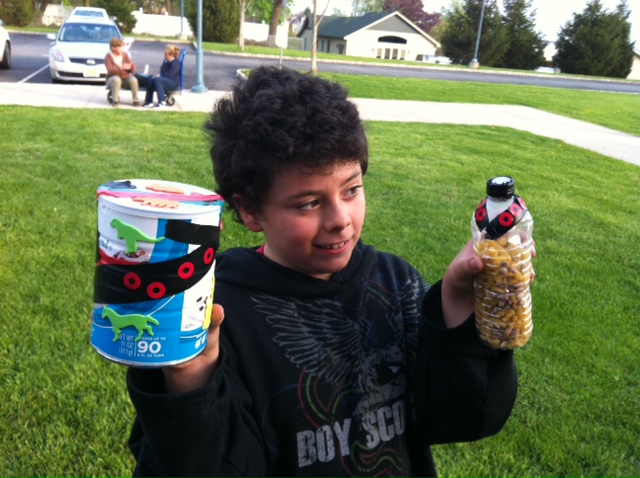
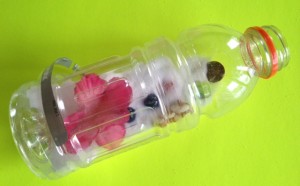
Once you’ve found the perfect amount of “faux sand”, drop in your favorite tiny shells, pebbles or tiny treasures. As you play the rattle and turn it from side to side, the small objects will appear and disappear in the sand.
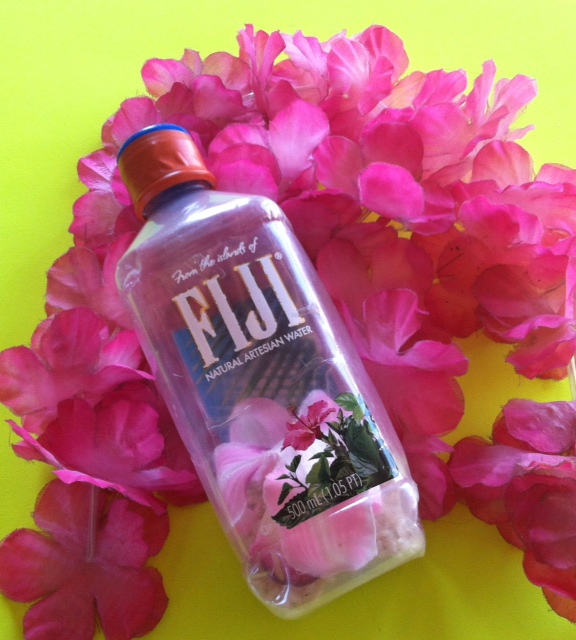
Tropical Flowers
Although this doesn’t change the sound of the rattle, it’s fun to add a bit of tropical color to the rattle. Look for silk or artificial flowers from a craft bin or take apart an artificial Hawaiian lei for perfect addition to the fun musical craft.
A Very Quiet Rattle
This rattle makes a soft whooshing sound so it is perfect for children with noise sensitivity. Several music therapists have commented that these “seaside” rattles are especially enjoyable to the kids who are on the autistic spectrum.
Rattle Away
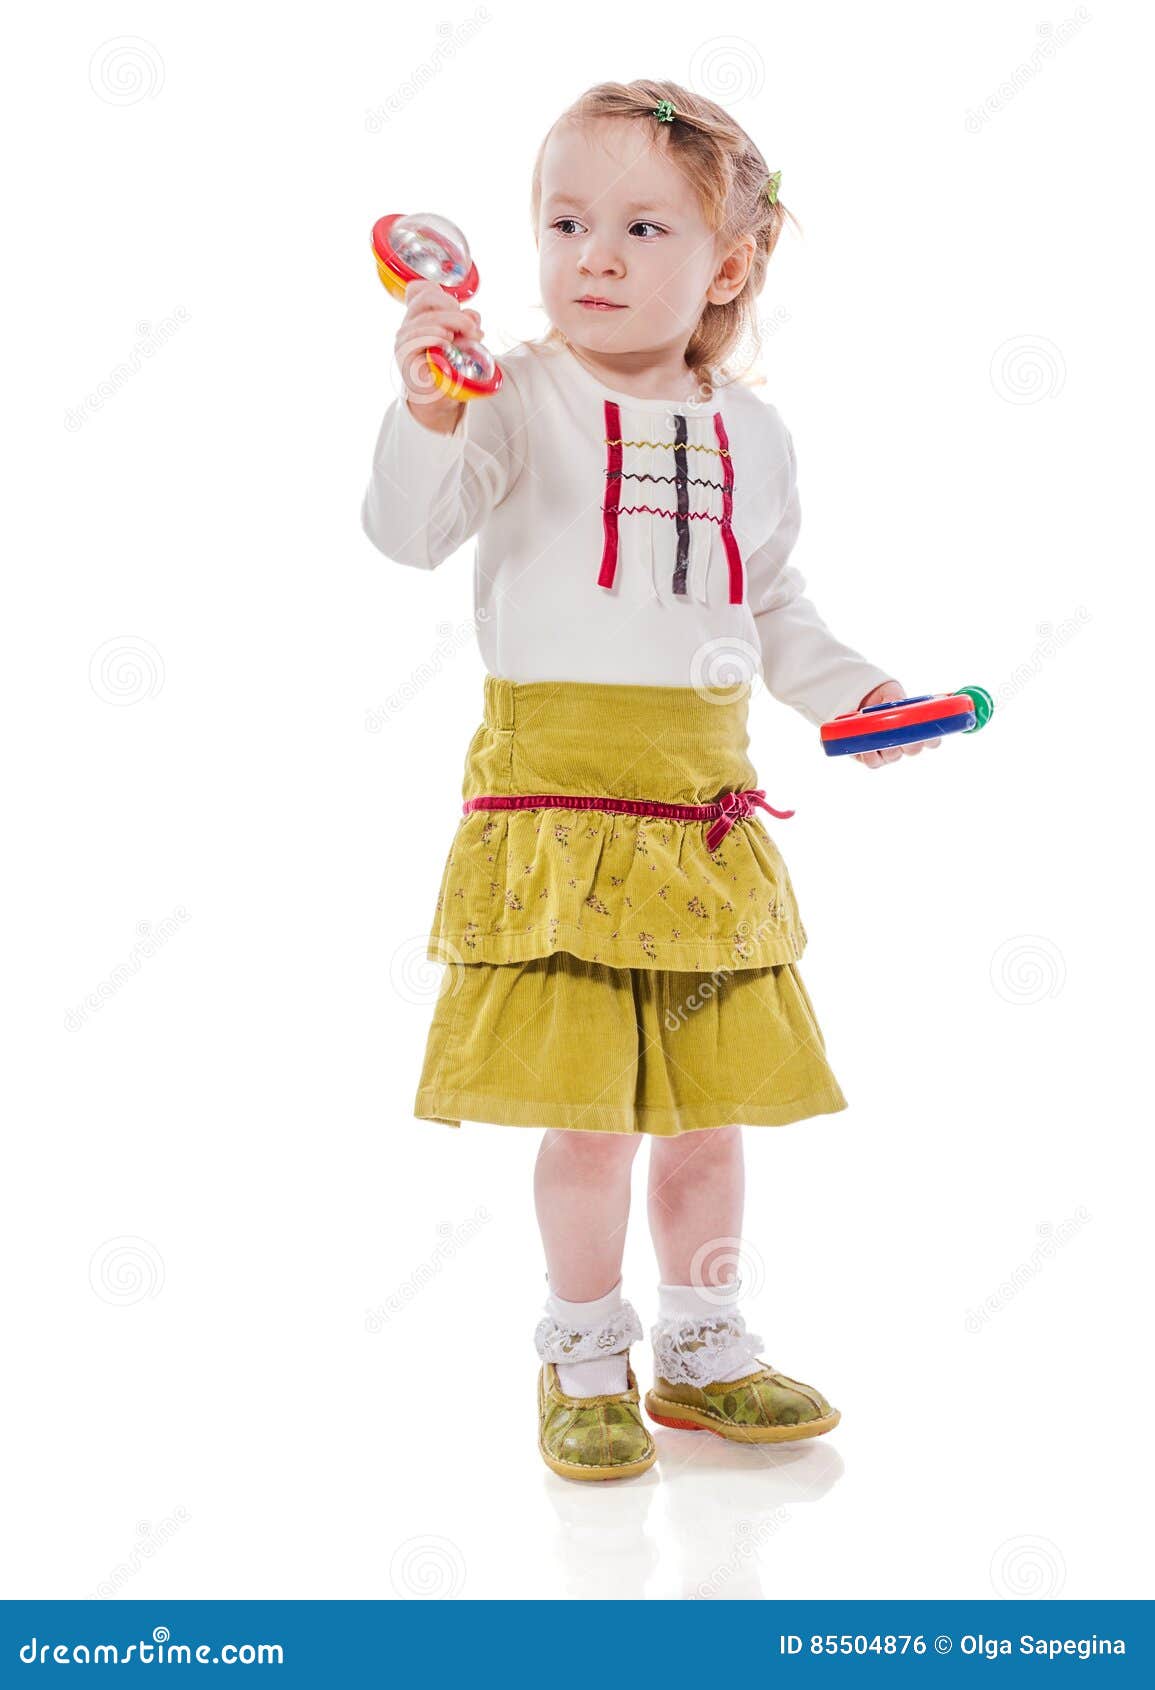
Don’t be fooled by how simple this little instrument looks. There are lots of ways to play a rattle – this type of rattle or any other one you might create or find in your musical bag of tricks!
Try some of these suggestions or make up your own ways to play.
 Rattle back and forth
Rattle up and down
“Swoosh” the rattle – move the contents around in a circular motion.
Hold in one hand and tap against the other.
Switch hands and try the above.
Hold the rattle at the top and tap the bottom on a desk or on your knees.
Hold the rattle at the top and tap the rattle sideways on a desk or on your knees.
Shake the rattle while dancing or moving.
Play it along while singing a favorite song.
Play it along while listening to a favorite song on a cd player or media device.
Make up your own “rattle moves”.
A Call And Response Rattle Game
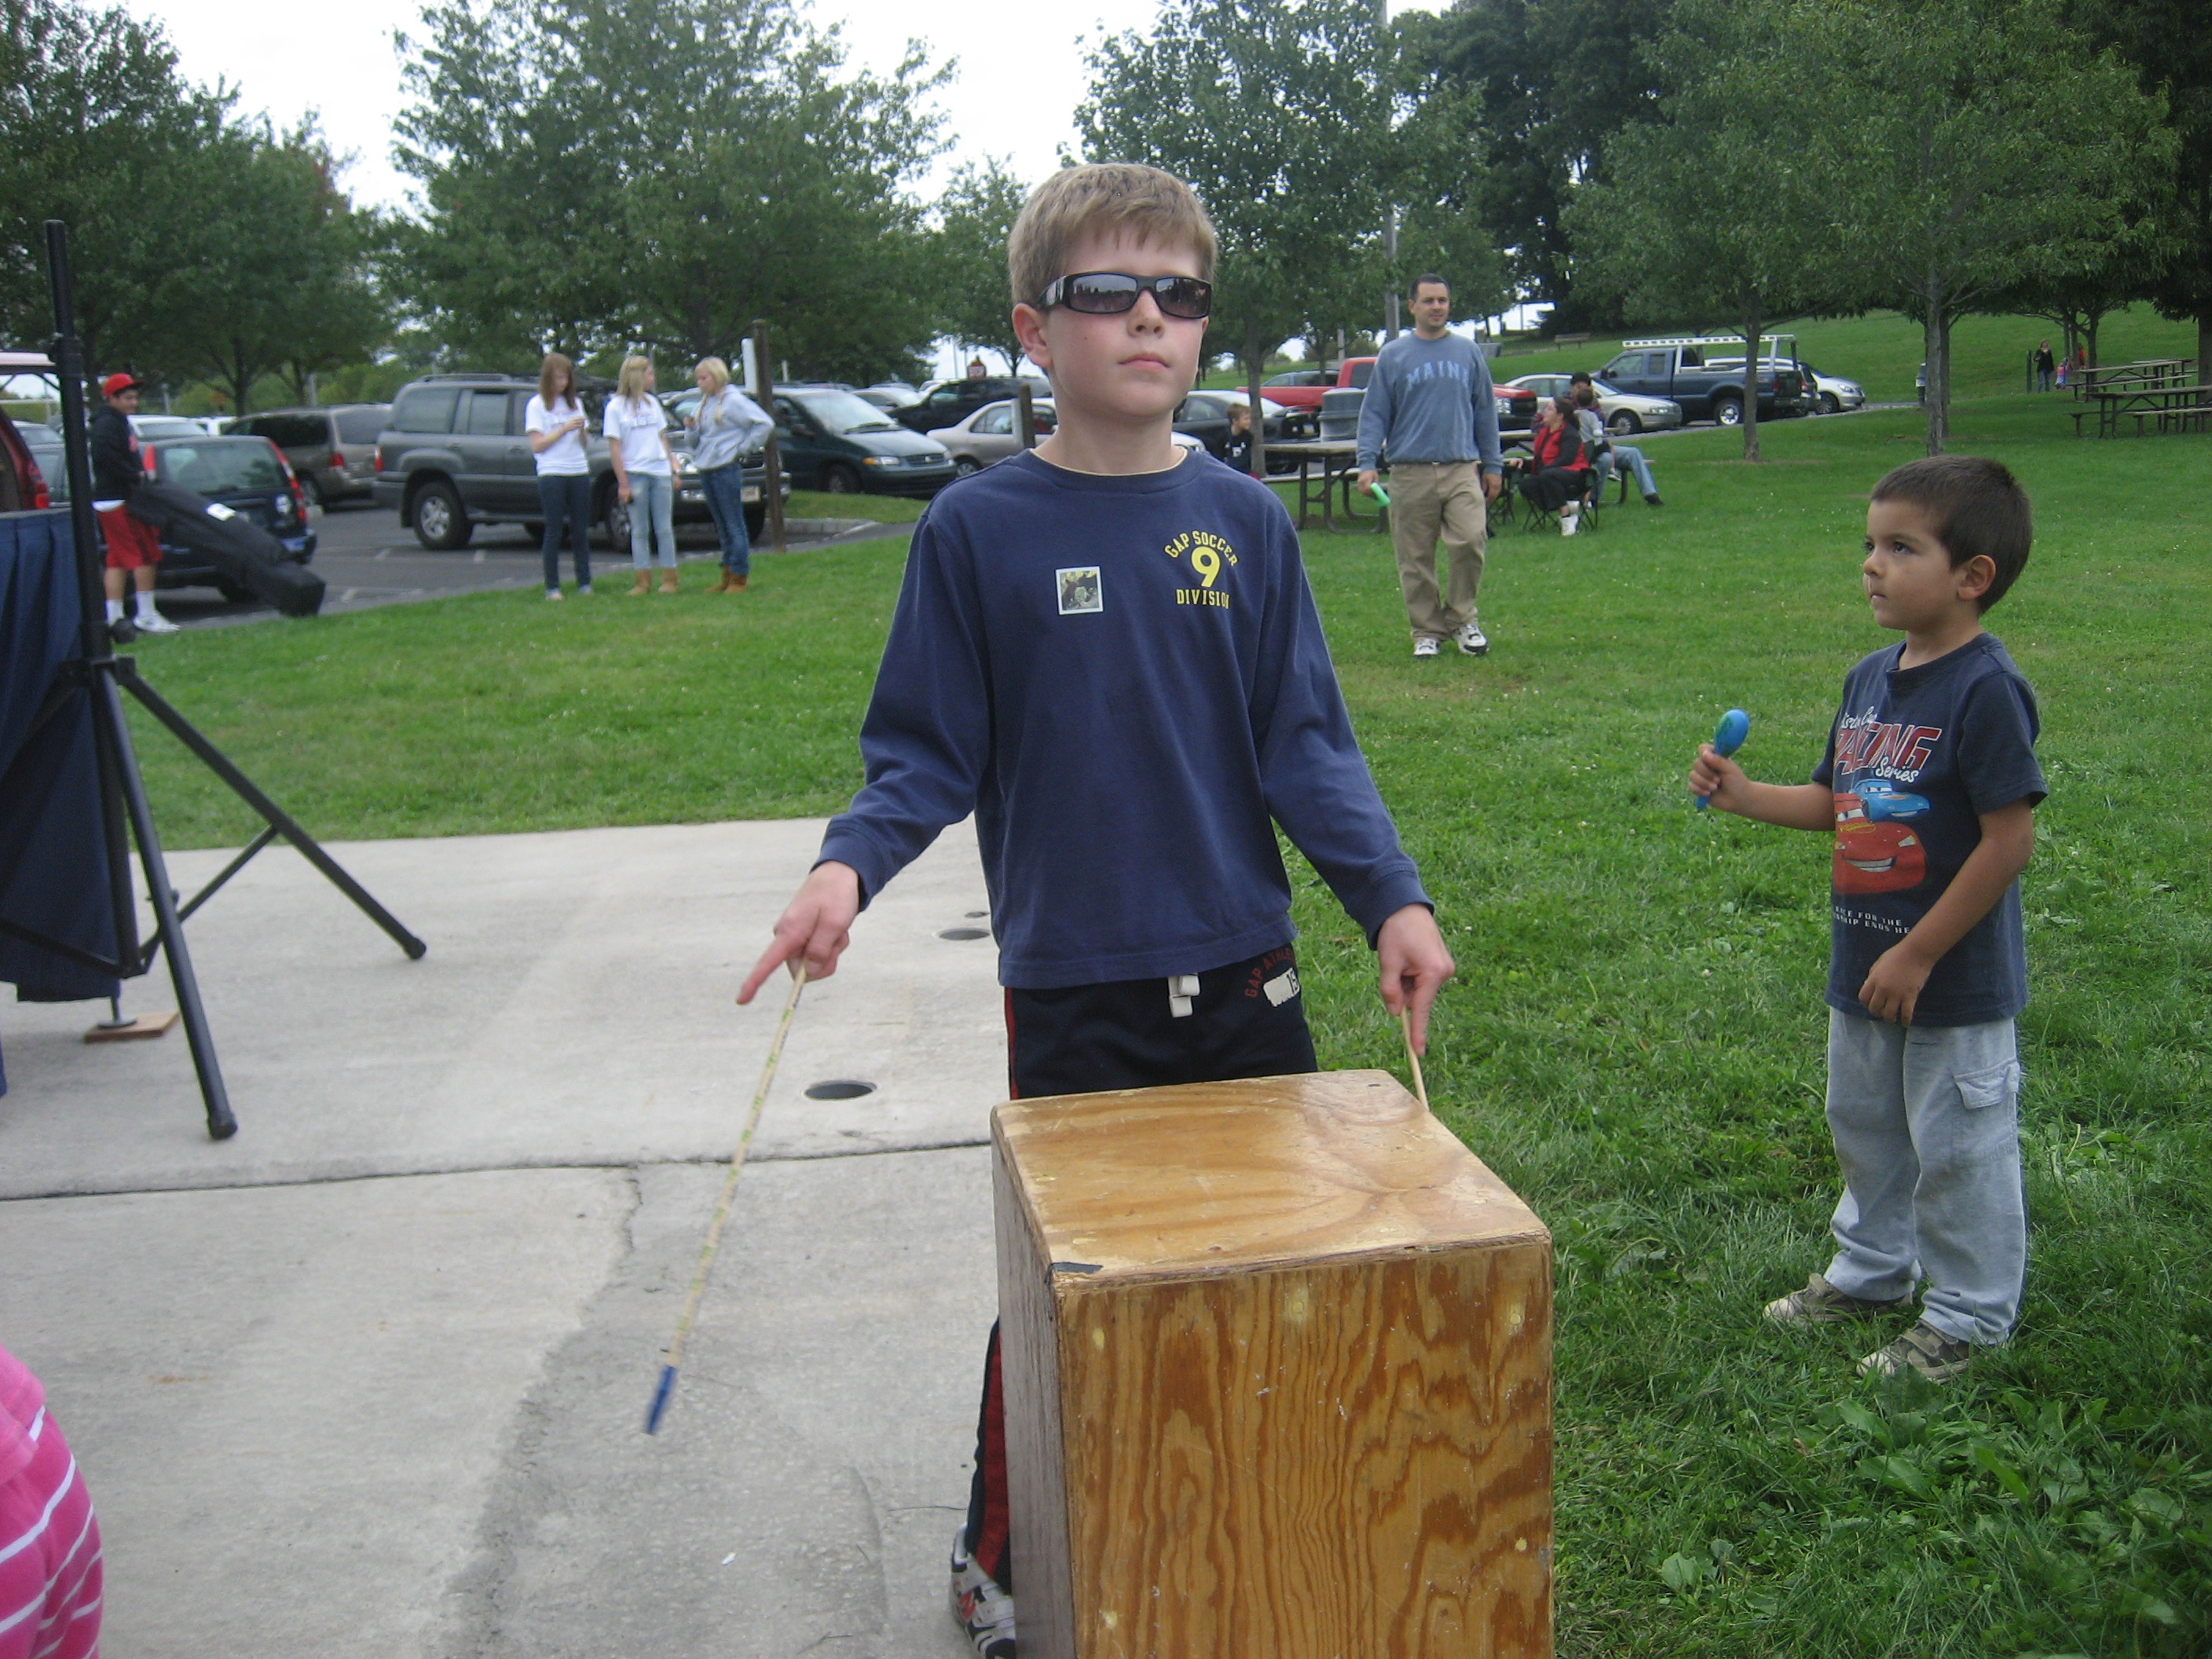
This is a great game to play with kids. It teaches listening skills, enhances motor skills and is just plain fun. Best of all it can be done several different ways. Try it “one-on-one”, with a parent and child, special education student and aide or teacher and student. It also works really well in a group, such as a teacher and a classroom, parent and preschoolers or homeschoolers and siblings.
The leader plays a pattern and the other (or other) must play that pattern back to them. Start simple and get more complex. Trade off and let the student or child make up patterns that the teacher or others must imitate.
Here are three simple patterns to get you started:
Shake the rattle up high twice,
Down low twice
Swoosh it around once.
And stop.
Shake the rattle twice in your right hand.
Swoosh it in twice in your right hand
Tap it twice on the desk while holding it in your right hand
Then change hands and repeat the pattern with the left hand
Tap it on the desk loudly.
Tap it on the desk softly.
Swoosh the rattle around.
Shake the rattle three times in your right hand.
Shake the rattle three times in your left hand.
And stop – or do it backwards!
———
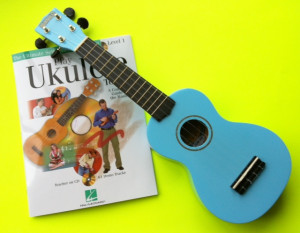 During the month of February 2014, we’re doing a feature on Hawaiian music and giving away a real ukulele as well as Hawaiian pu’illi rhythm sticks. You can see that related feature here: http://www.dariamusic.com/monthly_song.php

 Recently a friend of mine came up with an exciting idea – to create a holiday to focus on making your own musical instrument. It’s part learning, part creativity and part crossing cultures to share our common desire to have a blast, blast a horn, strum a stringed instrument or bang a gong! With the first celebration scheduled for June 21, 2014, you can find out all about International Make Your Own Instrument Day at the link below.
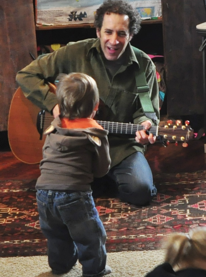 time Jay plays music he starts his show with a song he learned in Uganda called “We Are Happy”. It’s a song that was originally used to greet special guests who came to visit the tribe in Africa, but Jay’s changed a few things and now it’s a great way to begin any activity or put a smile on any child (or adults) face. You can read about the “We Are Happy” song at the post below.