Tag Archives: kids musical crafts

Road Trips With Kids – A Time To Share Special Songs

little girl road trip USE
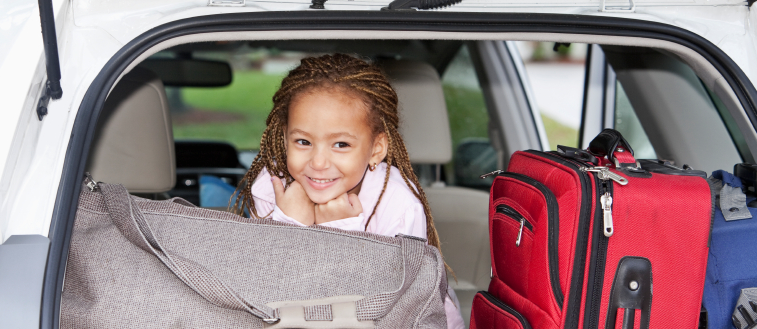
Although no one likes to be cooped up in a car for long periods of time, family road trips – short or long – can create some wonderful memories. Music is a great way to pass the time, share songs from your past, or even write some new ones.

Here are some handy ways to add music to a family outing or a vacation get-away.

What To Pack

Does your child have a favorite cd? Bring that along. Is there a new cd you’ve been wanting to listen to with your kids? Add that one for novelty. Don’t forget a playlist for sleepytime as that can help create a car naptime on a long journey or be a welcome nighttime ritual if you’re away from home or in unfamiliar surroundings.

Screen shot 2014-07-07 at 1.03.32 PMChildhood Memories

A road trip can be a great place to share special memories from your own past through music. What songs did you love during your childhood? School days? Did you go to a summer camp or participate in a girl scout or boy scout troop? What songs made you laugh or smile back then and still bring up happy memories now?

You can share these songs by singing them aloud, teaching them to your child or look for cd’s/digital versions you can play on your car stereo. What a great way for your child to connect with your roots and feel a sense of continuity with the past!

Don’t Forget The Classics

Even if you’re not camping out and singing around a campfire, there are some classic summertime songs. What about “Kumbayah” and Woody Guthrie’s “This Land Is Your Land”? Around 4th of July you may want to sing “Grand Old Flag” or enjoy some Americana tunes such as “Liza Jane” or “Oh Susannah”. Do you remember John, Jacob Jingleheimer Schmidt or a song about a hole in the bottom of the sea? What songs are your childhood “classics”?

Screen shot 2014-07-07 at 1.00.10 PMMake It Interactive!

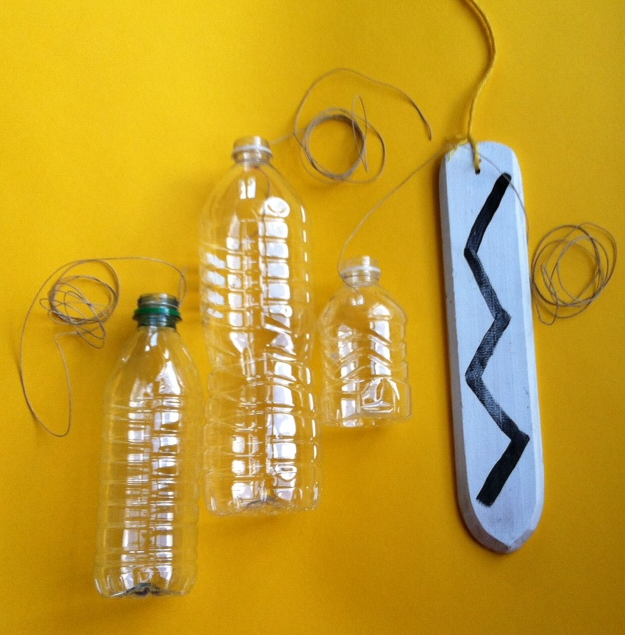
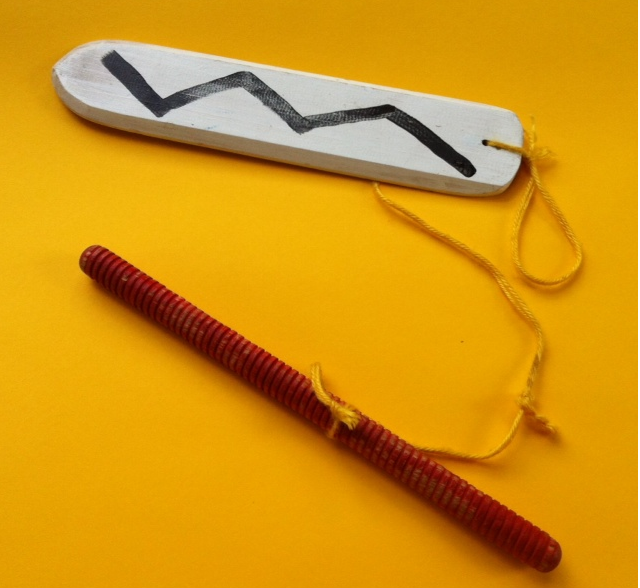
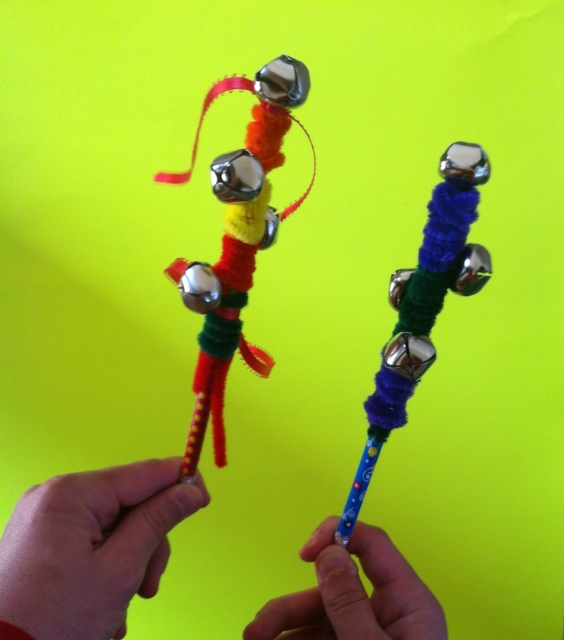
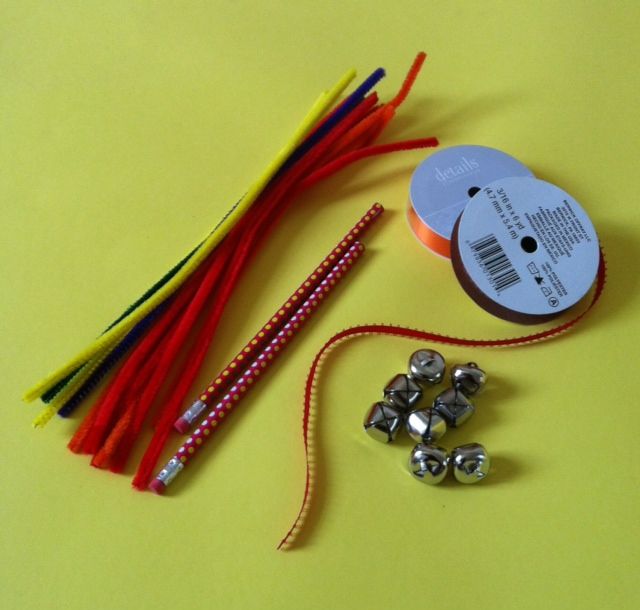
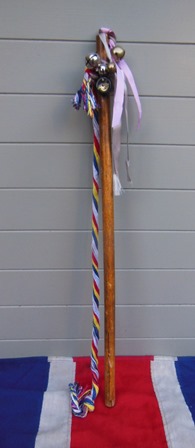
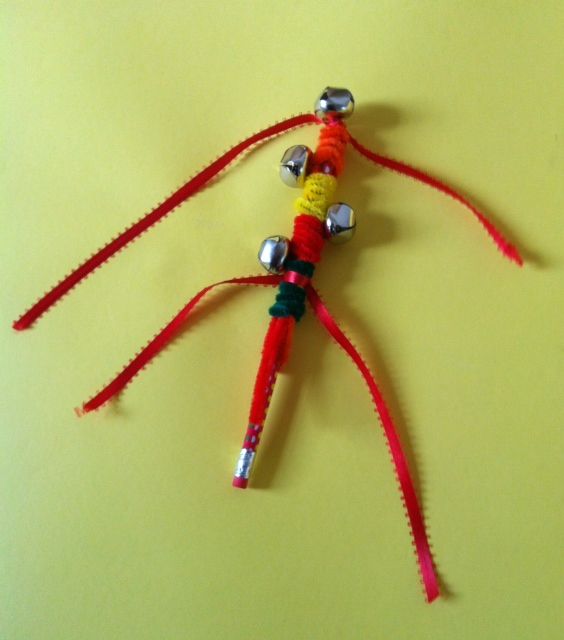
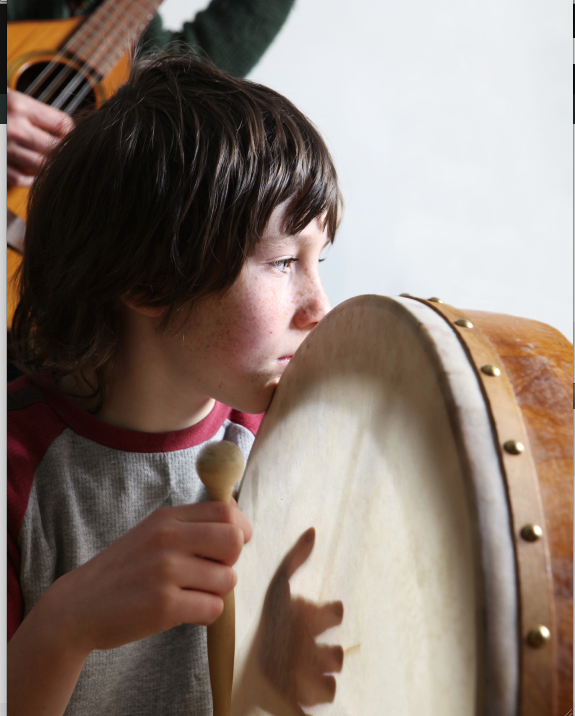
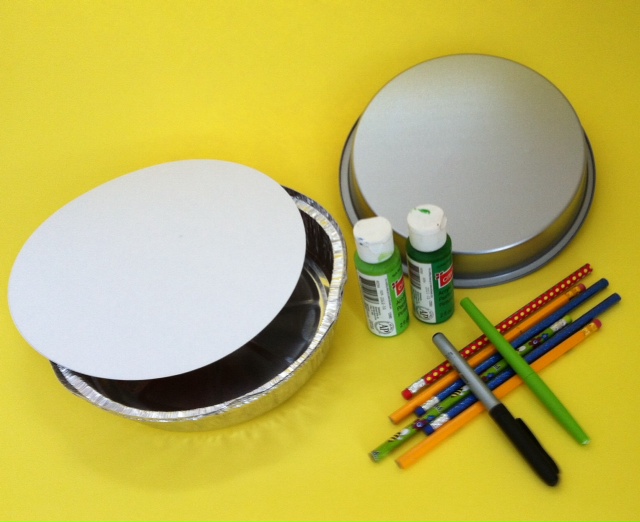
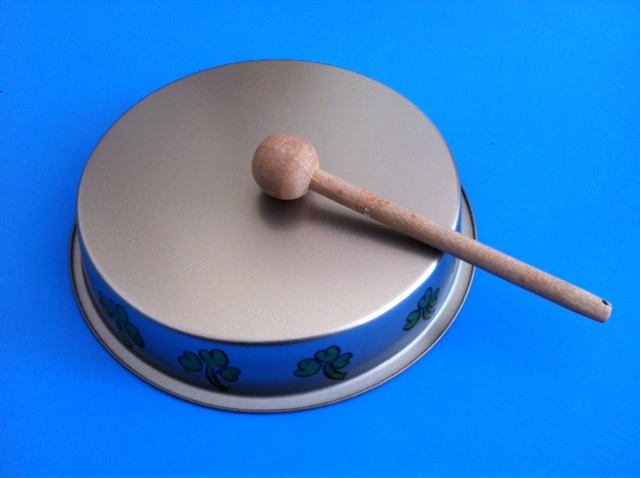
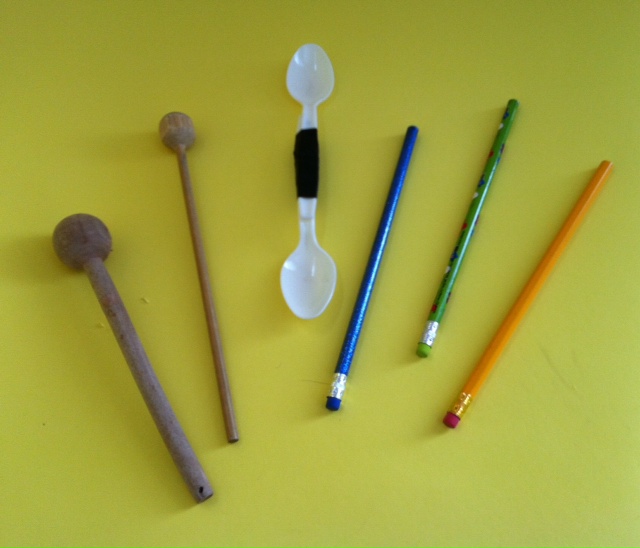
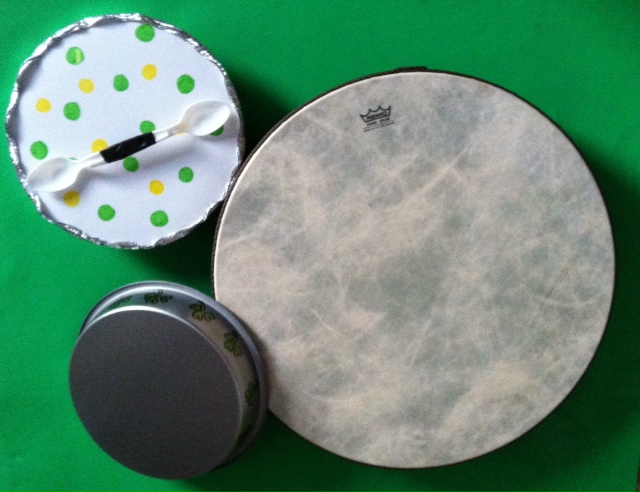
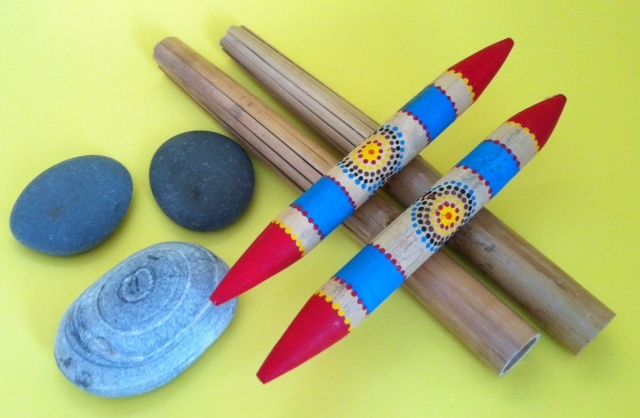
Remember the many great ways to make music interactive. You can carry a small basket of quiet instruments along with you, encourage your child to tap or clap quietly to the beat or learn and sing the chorus of any song together. Get creative! For instance, pick an easy song like “Baa, Baa Black Sheep” and have your child give your different colors to add to the song (Baa, Baa Green Sheep, Polka-Dotted Sheep?).

We’ll write more about “homemade songs” soon, but for the time being – make any road trip more fun by adding music!

Resources and Links

Best Instruments for Quiet Time With A Child http://www.tinytappingtoes.com/babies-and-music/best-instruments-for-quiet-time-with-a-child/

Write Your Own Lullabye http://www.tinytappingtoes.com/uncategorized/a-lullabye-to-make-your-own/

Summer Music Projects – https://www.teacherspayteachers.com/Product/12-Summer-Camp-Music-Crafts-3243132

FacebookTwitterGoogle+Share

Outdoor Musical Play – Make Your Own Bullroarer!

bullroarers - plastic

You may not recognize the word “bullroarer”, but you probably recognize the sound it makes. Used by both Native Americans and Aboriginal Australians, this simple instrument spins around and produces a whirring sound that is truly unique.

Since it’s really hard to describe, take a minute to watch “Jungle Jay” demonstrate his homemade bullroarer here:

What Is A Bullroarer?

Made from a simple piece of wood attached to a string, the bullroarer is spun with one hand then swung around in a circle with the other. As it spins, a remarkable whirring, buzzing noise is produced that can be heard quite a distance away.

bullroarer - realIt’s easy to see how this was used originally to signal other people or to communicate in times before telephones or modern devices.

Make Your Own Version

This activity could not be easier. All you need are recycled water bottles of various sizes and sturdy string or twine. Start by tying the string around the neck of the plastic water bottle, securing it tightly with several sturdy knots.   If you like, add a stick to the other end of the twine or tie the string into a loop to make it easier to hold while spinning.  A good length for the string is about 3 feet, but feel free to adjust this length for the size and shape of any player.

Although this technically isn’t a bullroarer, your plastic bottles will make odd, eerie noises when swung around in a circle just like the authentic aboriginal instrument. One hint: pick plastic bottles with smaller openings as they seem to make the best sounds when used in this project.

Safety First

Although spinning a plastic water bottle is much safer than spinning a piece of wood, it helps to consider safety when playing this instrument. Anyone playing a bullroarer should be outside in an open area, away from people or things that things that could be hit accidentally.

How To Play A Plastic Bullroarer

Once you’re positioned safely away from any people or objects, simply hold the one end of the string and swing it around. Swing it either in a circle in front of you, to the side or over your head. As you vary the speed, the sound will shift both in volume and in tone. Play with your one plastic bottle or different bottles to find the type of sound you like the most.

A Bullroarer Orchestra

If playing with a group, you can position kids or people in different areas with plenty of space between them. For instance, if you’re on a playground, you can position kids within large chalk circles with ample distances between them. Participants can all play together or someone can call out names so each player can add their instrument or stop playing. This is a fun way of creating a sonic landscape, especially if different size and shape water bottles are used.

Be safe – and have fun!

Easy May Day Jingle Sticks

Many cultures celebrate the Spring with music and festivities.   In The British Isles, traditional morris dancers have bells on their legs and sticks in their hands that they use as part of the choreography of the dance.  You can use the same ideas to celebrate the season or as part of music and movement fun; indoors or outdoors, any time or the year.

morris bells on kyraBells and Sticks

We’ll be sharing a post soon about a variety of different dancing bell traditions from various cultures – each with it’s own simple craft versions you can try at home.  For now, if you’re looking for an easy, wearable  “morris bells” craft, check out the resources and links below.

And what do you hold in your hands while dancing?  These bright and colorful jingle sticks are easy to make and fit perfectly in a child’s hands while they are dancing or moving – around a Maypole or during any dancing or movement activity.

morris jingle sticks suppliesA Few Supplies

To make these easy jingle sticks, you’ll need:

Pencils (unsharpened)

Pipecleaners (4 – 8 per stick)

Assorted jingle bells

Ribbon (optional)

morris jingle sticks - pencil and bellWrap it Up!

Start your stick by threading a jingle bell into the middle of a pipecleaner.  Then wrap both sides of the pipecleaner down over the pencil.  Take a second pipecleaner and wrap around the pencil until it is covered, adding jingle bells at regular intervals.  When the pipecleaner is too short to wrap, start with another one and wrap the end of the last one underneath.

Use as many jingles as you like and then tie on pieces of colorful ribbons as streamers, if desired.

morris jingle stick completeWhat Can You Do With Jingle Sticks?

You can use jingle sticks for playing music while seated at a desk in class in school.  You can make a pair and hold one in each hand during any form or movement of free form dance.  You can shake jingle sticks along with the beat of a favorite song.  You can practice, left hand and right hand patterns while listening to recorded music or create left hand and right hand patterns while singing.

Get creative and have fun!

morris jingle sticks 2 sidewaysResources

Easy Morris Bells Craft

http://www.tinytappingtoes.com/early-learning-with-music/easy-morris-dancing-bells-for-children/

Make Your Own Indian-Style Ankle Bells (from Teachers Pay Teachers)

 http://www.teacherspayteachers.com/Product/Make-Your-Own-Indian-Style-Ankle-Bells-or-Ghungroo-486879


Make Your Own Bodhrán Irish Drum

Screen shot 2014-03-07 at 10.50.39 AMEvery culture has it’s own favorite types of drums.

In the Celtic tradition of Ireland, the bodhrán (pronounced “bow-ron”) is a drum that seems to have evolved from the tambourine.  Originally made from farm implements such as a sieve to separate grain, it’s generally 10 – 26” inches across and is played with a small wooden stick called a “tipper” (or cipín, in the Celtic language).

Whether you attempt to create a realistic bodhrán and tipper or just want to create an Irish-style drum, this easy craft makes a great introduction to Irish folk music.

bodhran drum suppliesGather Your Supplies

To create your homemade bodhrán, find a used pie tin or recycled take-out containers.  Circular metal containers  press-on tops work perfectly for this craft.  In addition, you’ll need materials for decorating the drum and a pencil or two plastic homemade bodhran (tin)spoons to serve as your tipper plus a bit of tape.

It you’re using a pie tin, you can decorate the sides or the top and you’re ready to play.  If you’re using take-out containers, decorate the blank side of the top circle with any kind of theme you like.  Since we’re writing this close to St. Patrick’s Day, we’ve chosen to decorate with shamrocks.

Make A Plastic Spoon Tipper

tippers yellowTo make a “tipper” for your drum, tape together two recycled plastic spoons.  If you don’t have any spoons handy, you can use an unsharpened pencil or a similar item like a chopstick or small thin piece of wood.

Time To Play!

Everyone loves to play on a drum.  If you have a simple stick as the beater, tap out a rhythm along with any of your favorite songs or discover some new Irish music to accompany.

If you’ve made a tipper, hold it in your hand between your thumb and first finger.

Tap on the drum with one side of it.  Then tap in the other side.  Practice tapping right, left, right, left until you get the hang of it.

Once you’ve mastered the back and forth tapping of the tipper, try picking up speed. You’ll be amazed at what some musicians can do with this drum after they’ve practiced a bit.

Below is a short video showing basic bodhran technique for kids as well as a Youtube video of a master musician who can really rock out on this awesome Irish instrument.

Homemade Bodhrán Musical Fun

Homemade Bodhran Fun- Click Here To Learn The Basic Techniques

Traditional Celtic Bodhrán – One Amazing Instrumentalist!

Links and Resources

Make Your Own Bodhran -  tutorial from TPT https://www.teacherspayteachers.com/Product/Irish-Drum-Make-and-Play-Your-Own-Bodhran-and-Tipper-2410657


All Natural Instruments – Sticks, Stones and Bamboo Percussion For Kids

natural instruments

How were the first musical instruments created?

It’s most likely they were made from “all natural” materials and were probably the result of wonderful coincidences.  Perhaps someone was gathering wood and realized that two sticks tapped together could create a beat.  A rock fell on another rock and made a pleasing sound.  Bamboo made a wonderful noise when rustling in the wind and inspired Hawaiian rhythm sticks. And since these noise-makers are made of such basic materials, they make great “first instruments” for exploring music with children at home, in the classroom or in the homeschool environment.

Here are three of our favorite “all natural” percussion instruments.

Austalian Clapsticks – “Bilma”

stick bilma1In Aboriginal Australia, two sticks struck together form a beat that can accompany the didgeridoo and become a part of singing, dancing and celebrating.  Whether you tap together two unsharpened pencils or take a nature walk to retrieve two perfect sticks, bilma making dots with q-tipsthese simple clapsticks can keep a beat while you sing or play along to any your favorite songs.

If you want to decorate your clapsticks with an Australian theme, you can use a dot motif.  In the activity below you can find step-by-step directions for making several different versions of crafty “dot” bilma.

hula rocks on blueRiver Rocks – Hawaiian `ili`ile

Can rocks make music?   Take a nature walk, collect a few and see for yourself.

In Hawaii, special smooth river rocks are part of the hula tradition. These small stones; called ‘ili’ili, are held in a dancer’s hand and tapped together for a percussion sound and that becomes part of the arm movements of the dance.  If you want to play “Hawaiian-style”, check out the post below for more about this tradition.

But you can also get creative and make up your own way of “playing rocks”.  Try josef rocks outsetting a few rocks out on the ground or table and hold one in your hand.  Use the rock in your hand to tap out a beat on one – or several- of the other rocks while you sing along, play recorded music or create your own rhythms with a friend, sibling, parent or fellow musician.

Bamboo Rhythm Sticks

Hawaiian pu’ili are rhythm sticks with one distinct difference.  They are made of lengths of bamboo, left whole on one side and split on the other.  When tapped together, the split ends rattle against each other making a unique sound.

Although making traditional bamboo pu’ili is not too hard, it does require some special tools and involves sharp edges.  An easier version; especially for young children, can be made from cardboard rolls from paper towels. They are easily cut and decorated and sound great for percussion play.

You can get complete instructions for homemade pu’ili at the post listed below.

Explore Nature and Music

Sticks, stones and reeds can make music.  Why not combine an exploration of music and nature to see what kind of inventive creations you can discover and play!

Screen shot 2014-03-03 at 5.26.10 PMLinks and Resources

Australian Bilma (From Teachers Pay Teachers)
http://www.teacherspayteachers.com/Product/Australian-Instruments-Make-Your-Own-Bilma-Clapsticks-1133140

Playing River Rocks As An Instrument – Hawaiian `ili`ile
(Post in Making Multicultural Music)
http://makingmulticulturalmusic.wordpress.com/2014/02/13/playing-river-rocks-as-an-instrument-hawaiian-iliile/

Play Some Pu’ili  (Post in Tiny Tapping Toes)
http://www.tinytappingtoes.com/classroom-music/make-your-own-puili-hawaiian-rhythm-sticks/

Musical Craft pdf’s from DARIAMUSIC
http://www.dariamusic.com/crafts.php

E-books, CD’s and more Musical Fun from DARIA’s TeachersPayTeachers Store
http://www.teacherspayteachers.com/Store/Daria-Marmaluk-Hajioannou

Make Your Own Pu’ili – Hawaiian Rhythm Sticks

Rhythm sticks are great additions to almost any type of musical play with children.  Found all around the world, most rhythm sticks are about 6 to 8” long and made of solid wood.  Hawaiian rhythm sticks, however, take a really unique puili sticks on a leafapproach to this age-old instrument.  Called pu’ili; they are made from longer sticks of bamboo, solid on one end and slit on the other to make a rattling noise when struck together.  And they are tapped in many different ways, often as part of the hula tradition so making and playing your own pu’ili sticks can be a fun way to enjoy movement and music at the same time.

Want to see how they are played as part of the Hawaiian tradition?  Watch this short video and you will be amazed at the coordination of the dancers and the many different ways two sticks can be used to create rhythm and become part of the graceful moves in this dance.


Crafty Pu’ili Sticks

Actual pu’ili sticks are made from lengths of bamboo, generally around 12 – 18” long.  They are left solid at one end and then cut into numerous slats on the other end.  Our craft version uses the cardboard roll from paper towels and adds a few elements for decoration and durability.  Supplies you need are:

Screen shot 2014-02-01 at 12.38.21 PM2 cardboard tubes from paper towels

Scissors

(Optional)  Electrical or duct tape

Stickers, markers or other materials for decoration

This is such an easy craft.  Simply cut slits in one side of the cardboard rolls and use the electrical tape or duct tape to wrap the other (uncut) end.  This will indicate which side to hold and help the sticks last longer.

Although it’s not traditional, you can decorate the cut side, using markers or stickers, paint, glitter and glue or whatever inspires your imagination.  Once you’re done – it’s time to play!

One quick note here, since they are made of cardboard, these pu’ili sticks may not last a long time.  If you enjoy this musical craft, it may be a good idea to save these paper towel rolls and make several pairs.

Playing Your Pu’ili

There are lots of basic moves for playing these rhythm sticks that any child or adult can master right away.  Try some of these easy suggestions:

Hold one stick in your right hand in front of you. Tap with the left stick.

Hold one stick in your left hand in front of you. Tap with the right stick.

Hold one stick in your right hand by your right shoulder. Tap with the left stick.

Hold one stick in your left hand by your left shoulder. Tap with the right stick.

Screen shot 2014-02-01 at 12.38.34 PMTap the two wrapped ends together in front of you.

(If seated at a desk or table) Tap the two wrapped ends on the desk or table in front of you.

(If seated on the ground) Tap the two wrapped ends on the ground in front of you.

Screen shot 2014-02-02 at 8.33.56 AMIf standing, tap both sticks on the ground by your right toe.

If standing, tap both sticks on the ground by your left toe.

Mix and match these moves.

Mix and match these moves in time with Hawaiian music.

Mix and match these moves in time with any of your favorite types of music.

Rhythm Games

Once you’ve mastered the basic moves, you can also play with an adult, partner, friend or even a group.  In the video above, you probably noticed how the dancers tapped each other’s sticks.  You can try something similar.  If you sit across from a partner, pick out what moves you want to do (such as – let’s tap right, then left sticks in the middle) and give them a try.   Make up your own patterns with or without music.

If you’re seated in a circle with a group, you can try patterns such as this one:

Everyone taps both wrapped ends on the ground twice, then taps both sticks together in front of themselves.

Everyone taps both wrapped ends on the ground twice, then reaches out to tap the sticks of their neighbors, both right and left.

Repeat the pattern while keeping a beat.  Try it without music, while singing or while playing recorded music.

—————–

Photograph of pu’ili sticks on a tropical leaf, used by permission from NaKani O Hula Farms.  Their farm grows and creates many traditional Hawaiian instruments and crafts.  Find them at:

http://www.nakaniohula.com/about-us/


Bang a Gong!

blue nipple gongBang a gong and every pays attention!

Tap a gong and you got a quiet, calming, resounding tone.

Gongs are wonderful instruments made from a circular metal object that hangs on a stand and is tapped or struck by a stick or beater.  Some are simple and plain.  Others are decorated beautifully with designs etched into the surface and hung on elaborately carved wooden stands.  All of them create beautiful notes when played.

What Can You Do With A Gong?

Gongs are great for marking time.  They are perfect for starting a day or an activity.  They can call kids in from recess or playtime or announce that a meal is ready.  They are a perfect addition to any home play, homeschool or classroom environment as well as a great way to learn about the culture of China, Tibet, Korea, Laos, Vietnam, Thailand and other countries where these play an important role in the cultural and religious life of the people.

Make Your Own Gong!

a smaller pie-tin gongDo you need a big budget to acquire a gong?  No way!  If you have a metal item such as a pie tin or recycled turkey roasting pan, you can craft your own unique gong.  Here are the supplies you’ll need:

Supplies

Metal pan

Broomstick, long stick or cardboard tube from inside wrapping paper

Yarn, string or pipecleaners

Materials for decorating the gong

Two chairs (to use as the stand for the gong)

horse gongInstructions

You can find step-by-step instructions in the pdf below, but basically, you decorate the pan, poke two small holes about 2 – 3 inches apart, slip string, yarn or pipecleaners through each hole and hang your gong from a broomstick or cardboard tube.  A makeshift stand is easily made from two chairs positioned back to back.

Last, to create a beater for your gong, cover a stick or wooden spoon with a bit of red felt or silk and tie it around the top.  Then experiment with the sound when touching it lightly, tapping harder or by striking several times in a row.  Below is a video of a serious gong being played to give you some  inspiration.

Decorate Your Gong

January 31st, 2014 marks the Chinese New Year and we welcome in the year of the horse.  It can be fun to create a gong with the theme of the New Year or to look up your birth year and make a gong with a pig, a rat, a sheep or a dragon.  Find a chart of birth years and Chinese Zodiac signs in the pdf below, along with more suggestions for making and playing this fun world music craft!

Resources

Step-By-Step Instructions/Make Your Own Gong And Chinese Zodiac Symbols PDF

http://www.dariamusic.com/docs/chinesegong.pdf

What Does The Gong Say?

Make And Play Your Own Dhol Drum

dhol image

Almost every culture has a special kind of drum to call its own.  In Northern India, the dhol is a two-headed drum worn around the neck, often decorated in very beautiful ways.  It is played with two beaters (sticks) and can be a fun way of encouraging coordination between right hand and left hand as well as exploring new rhythms or the culture of India.

Supplies

dhol supplies To create a homemade version of a dhol drum, you need a few simple supplies:

Round (cylindrical) cardboard container (from oatmeal, bread crumbs, corn meal, etc.)

Felt, construction paper or poster board (large enough piece to fit around the cylinder).

Duct tape

Piece of sturdy ribbon, bric-brac, old belt or recycled strap from a purse.

2 pencils

2 plastic spoons

Materials for decoration (if desired)

Crayons, markers, stickers, or glitter and glue.

Yarn for tassels

dhol half madeMake Your Own Dhol

Start by cutting a length of ribbon or strap so that the “drum” that will fit comfortably over your child’s head and hang at about stomach height.  Duct tape the strap into place onto the cylinder.

Next, cut a length of felt, construction paper or poster board to fit over the cylinder.  Decorate it with crayons, markers, glitter and glue or similar materials, if desired.

When you’ve completed your design, tape the felt or paper into place.

Create two beaters for the drum.  Since sticks can be a safety hazard with young children, I encourage parents, teachers and caregivers to tape two plastic spoons to unsharpened pencils and dhol drum - completeduse them as beaters.  They are the right length for dhol drum beaters and don’t leave any sharp edges exposed.

Tassles?

Many dhol are decorated with colorful tassels.  If you want to add some to your drum, simply wind your favorite colors of yarn around a small length of cardboard.  Slip the yarn off the cardboard, and tie one side creating the “head” of the tassel.  Then cut the strings on the opposite side so they will hang down as fringe.

And attach to your drum!

Playing the Dhol

Allow your child to put the drum “on” and experiment with striking each side with a beater.

josef plays dholTry striking back and forth slowly and then more quickly.

Try making up patterns like: “Left side, left side, right!”

Or more complicated ones as well.

Try walking and playing your dhol.

Discover some traditional dhol rhythms and see if you can imitate them.

The Traditional Dhol

Want to discover some traditional rhythms played in this drum? You can see and hear them here:

Other Instruments From India – Indian Ankle Bells

Check out this fun and easy craft – making Indian-style ankle bells called ghungroo: https://www.teacherspayteachers.com/Product/Instruments-From-India-Make-Your-Own-Ankle-Bells-Ghungroo-486879

Links:

Color a Dhol  http://www.dariamusic.com/docs/Dhol%20Coloring%20Page.pdf

Dhol Drum mini-poster and coloring page from TeachersPayTeachers http://www.teacherspayteachers.com/Product/The-Dhol-Drum-Instruments-From-India-904625

Simple Instruments from Africa For Children

Making music with young children is a great way of combining creativity and fun with learning about global cultures.  Whether you are quietly crafting, reading and researching or drumming and dancing, here are some simple instruments that can be a part of any study of the diverse and beautiful cultures of Africa.

this tongue rattle hereMake It Rattle!

Different types of rattles can be found throughout Africa and the world.  They are easy to hold and play for kids of all ages and almost all abilities.   Here are three very different rattles from Africa – one that even can be seen in hieroglyphics that date back to ancient Egypt!  All of these are perfect to be made and played by small hands!

Tongue Rattle

http://makingmulticulturalmusic.wordpress.com/2012/10/02/make-your-own-african-style-tongue-rattle/

Caxixi Rattle

http://tinytappingtoes.wordpress.com/2013/02/05/make-your-own-woven-caxixi-rattle/

Egyptian Sistrum Rattle – Make It From A Recycled Hanger

the Eco-Egyptian Sistrum

Egyptian Sistrum Rattle – Make It From A Tree Branch

the Natural Egyptian Sistrum

Egyptian Sistrum Coloring Page
the Egyptian Sistrum Coloring Page

South African drummer - farahHands On The Drum!

There are an astounding number of different drums and drumming traditions throughout Africa.  Crafting a simple hand drum from recycled materials is a great place to start an exploration of drumming for very young children.

http://www.dariamusic.com/docs/Make%20Your%20Own%20African%20Drum.pdf

Shake A Shekere

In this unique and beautiful percussion instrument, the rattle is on the outside of the gourd.  It can be shaken back and forth, tossed hand to hand or used like a ball in simple children’s musical games.  To hear or color a shekere or find crafting instructions and simple activities, check out the links below.

shekere iconHear A Shekere

http://www.dariamusic.com/shekere.php

Color A Shekere Online

http://www.dariamusic.com/color_Shekere.php

Make Your Own Shekere

http://www.dariamusic.com/make_Shekere.php

Easy Gourd Shekere For A Kid Or A Classroom

http://tinytappingtoes.wordpress.com/2013/08/05/easy-gourd-shekere-for-a-child-or-a-classroom/

Alphabet Shekere

http://www.trueaimeducation.com/2012/10/guest-post-learning-letters-with.html


Make A Whistle – From A Blade Of Grass!

Even the simplest things can be a part of creative, everyday musical fun with your child!

Have you ever shown your kids how to make a simple blade of grass into a whistle that sounds like a duck call?  If this wasn’t one of your childhood games, don’t worry.  It’s easy to learn and a great way to share creative play with your child.

What Do You Need?

Only three things! A blade of grass, preferably a longer thin one, two thumbs and a bit of patience.  And as you try this activity, you might want to notice that you’re actually making a simple version of the type of reed found in woodwind instruments such as saxophones, clarinets and oboes.

How To Do It!

Although this seems easy, it does take some time to get the right sound, so don’t give up if it doesn’t work the first few times!  Place your two thumbs together, leaving space between them like you see in the above picture.

Next choose a long, thin piece of grass, and stretch it between your thumbs, making it as tight as you can.  The grass should look as if it is dividing the space between your thumbs.

Then, put your mouth up to your thumbs and blow gently.  A loud, squawking sound should emerge that sounds like a duck.  If not, adjust the grass, try another blade of grass or change your mouth position until you get the whistling sound.

With a bit of practice, you can be a “duck call” pro in no time! Here’s what it might sound like:

Making Music From Natural Items

Love spending time outdoors or in nature?  Here are some related musical crafts that you might enjoy:

Take A Nature Walk – Make A Recycled Rattle
http://tinytappingtoes.wordpress.com/2012/03/26/take-a-nature-walkmake-a-recycled-rattle/

10 Earth Day Music Crafts From Recycled Materials https://www.teacherspayteachers.com/Product/Reduce-Reuse-Recycle-Rock-Out-E-Book-With-10-Musical-Activities-653502