The guiro is a perfect “first instrument” to share with young children. It’s incredibly simple and versatile at the same time. In a matter of minutes, a child can be exploring the sounds created by the guiro and making rhythms by rubbing the rasp back and forth or up and down along the surface of the guiro.
What Is A Guiro?
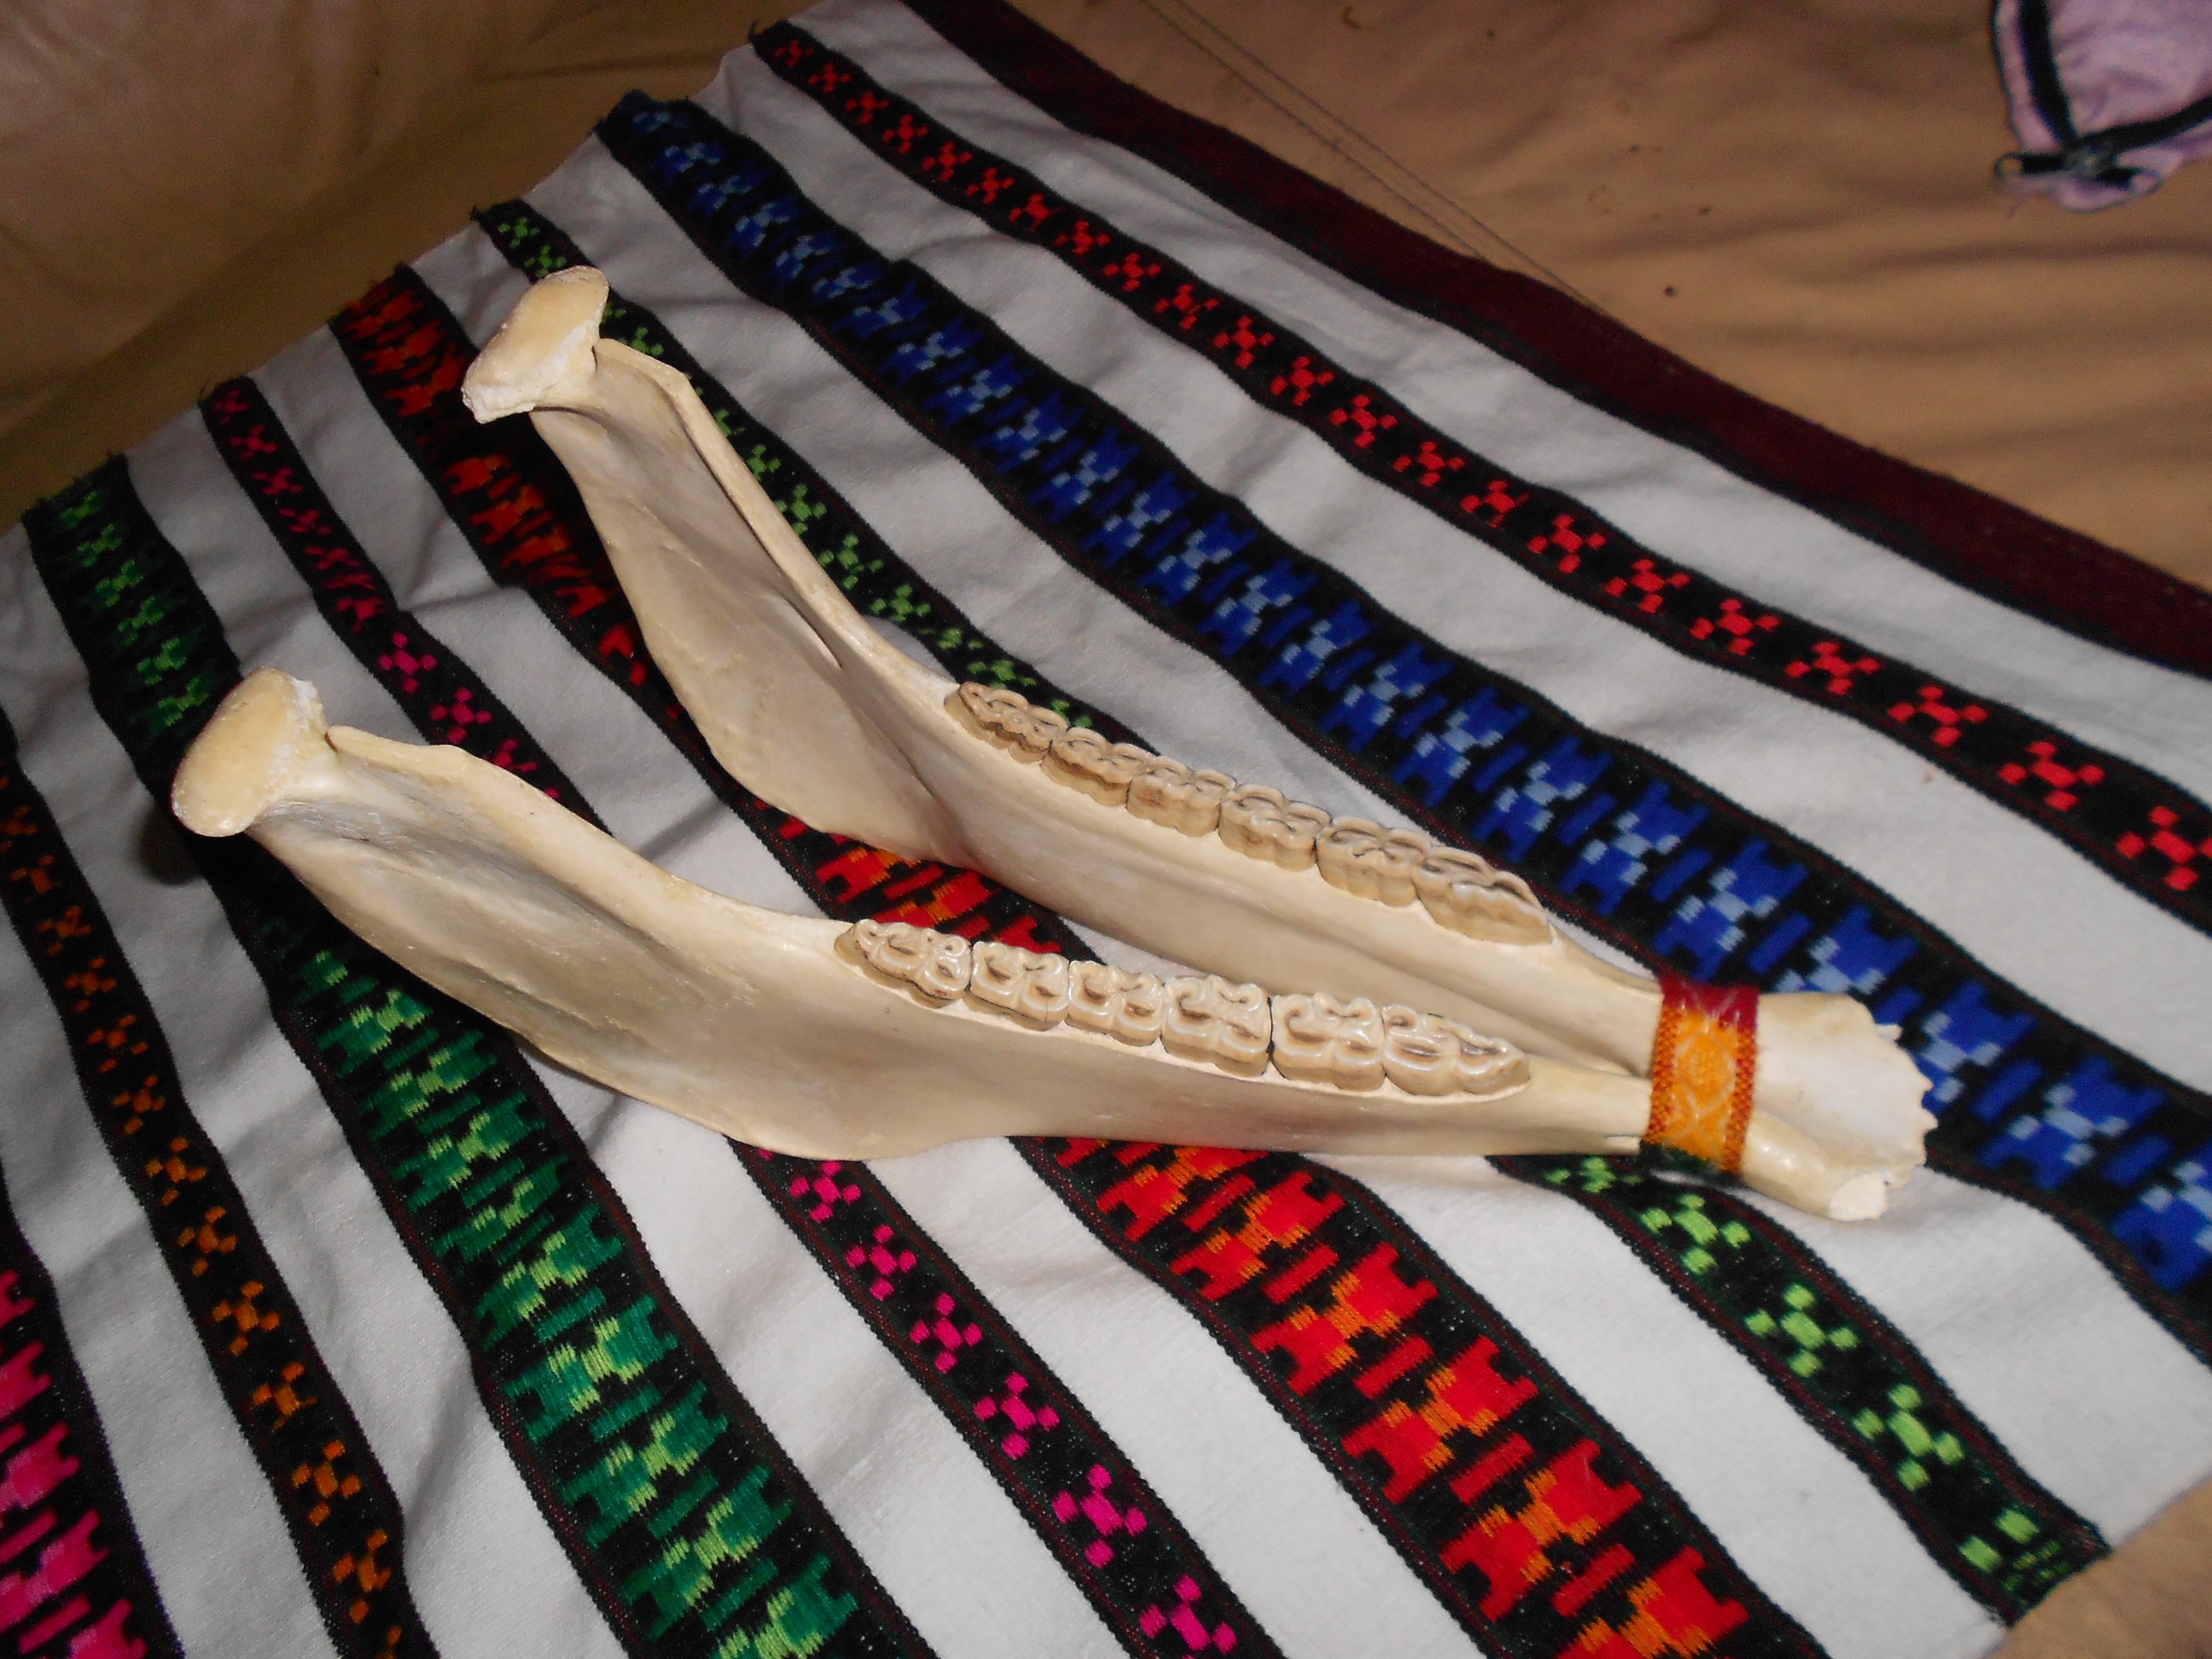
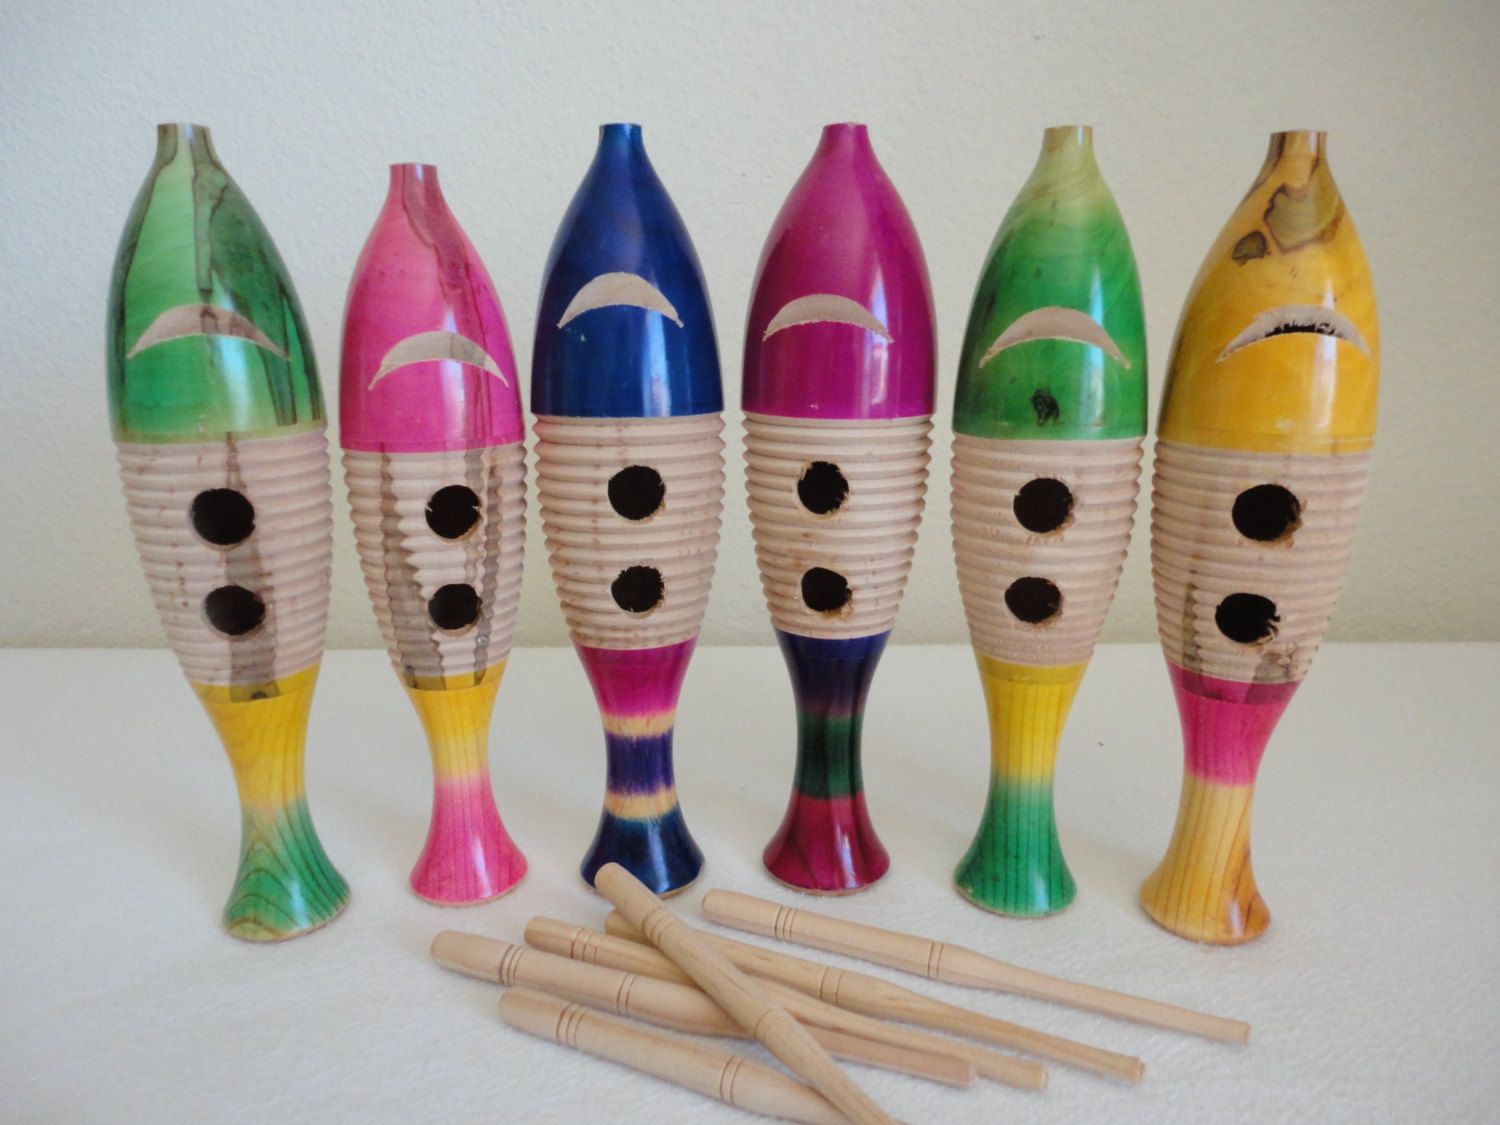
Although you can find similar instruments all over the world, a guiro is an instrument with Latin American roots that was originally made from wood, bone or gourds carved to have a ridged surface. In the picture above you can see a bone guiro from Mexico, a wooden version and a homemade guiro made from a recycled plastic water bottle. Some modern guiros are made of plastic or metal as well.
 Play A Guiro With A Rasp
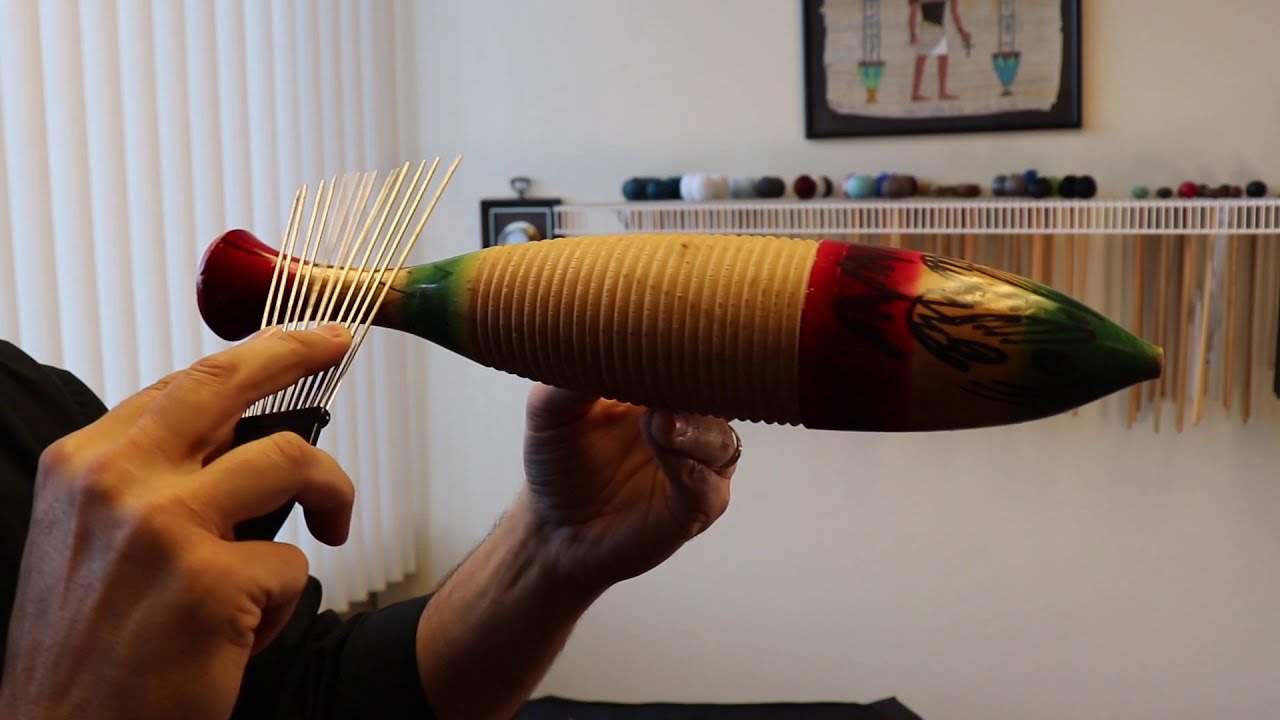
To play a guiro you rub an object across the ridges on the surface of your instrument. Older guiros often have sharp metal rasps so it can be useful to substitute more child-safe choices. Here are some fun ways to create sound on a guiro. They include hair picks, plastic spoons/forks/sporks, chopsticks, an egg whisk or an unsharpened pencil. Each will create a slightly different sound when used to play the guiro.
Make A Simple Guiro
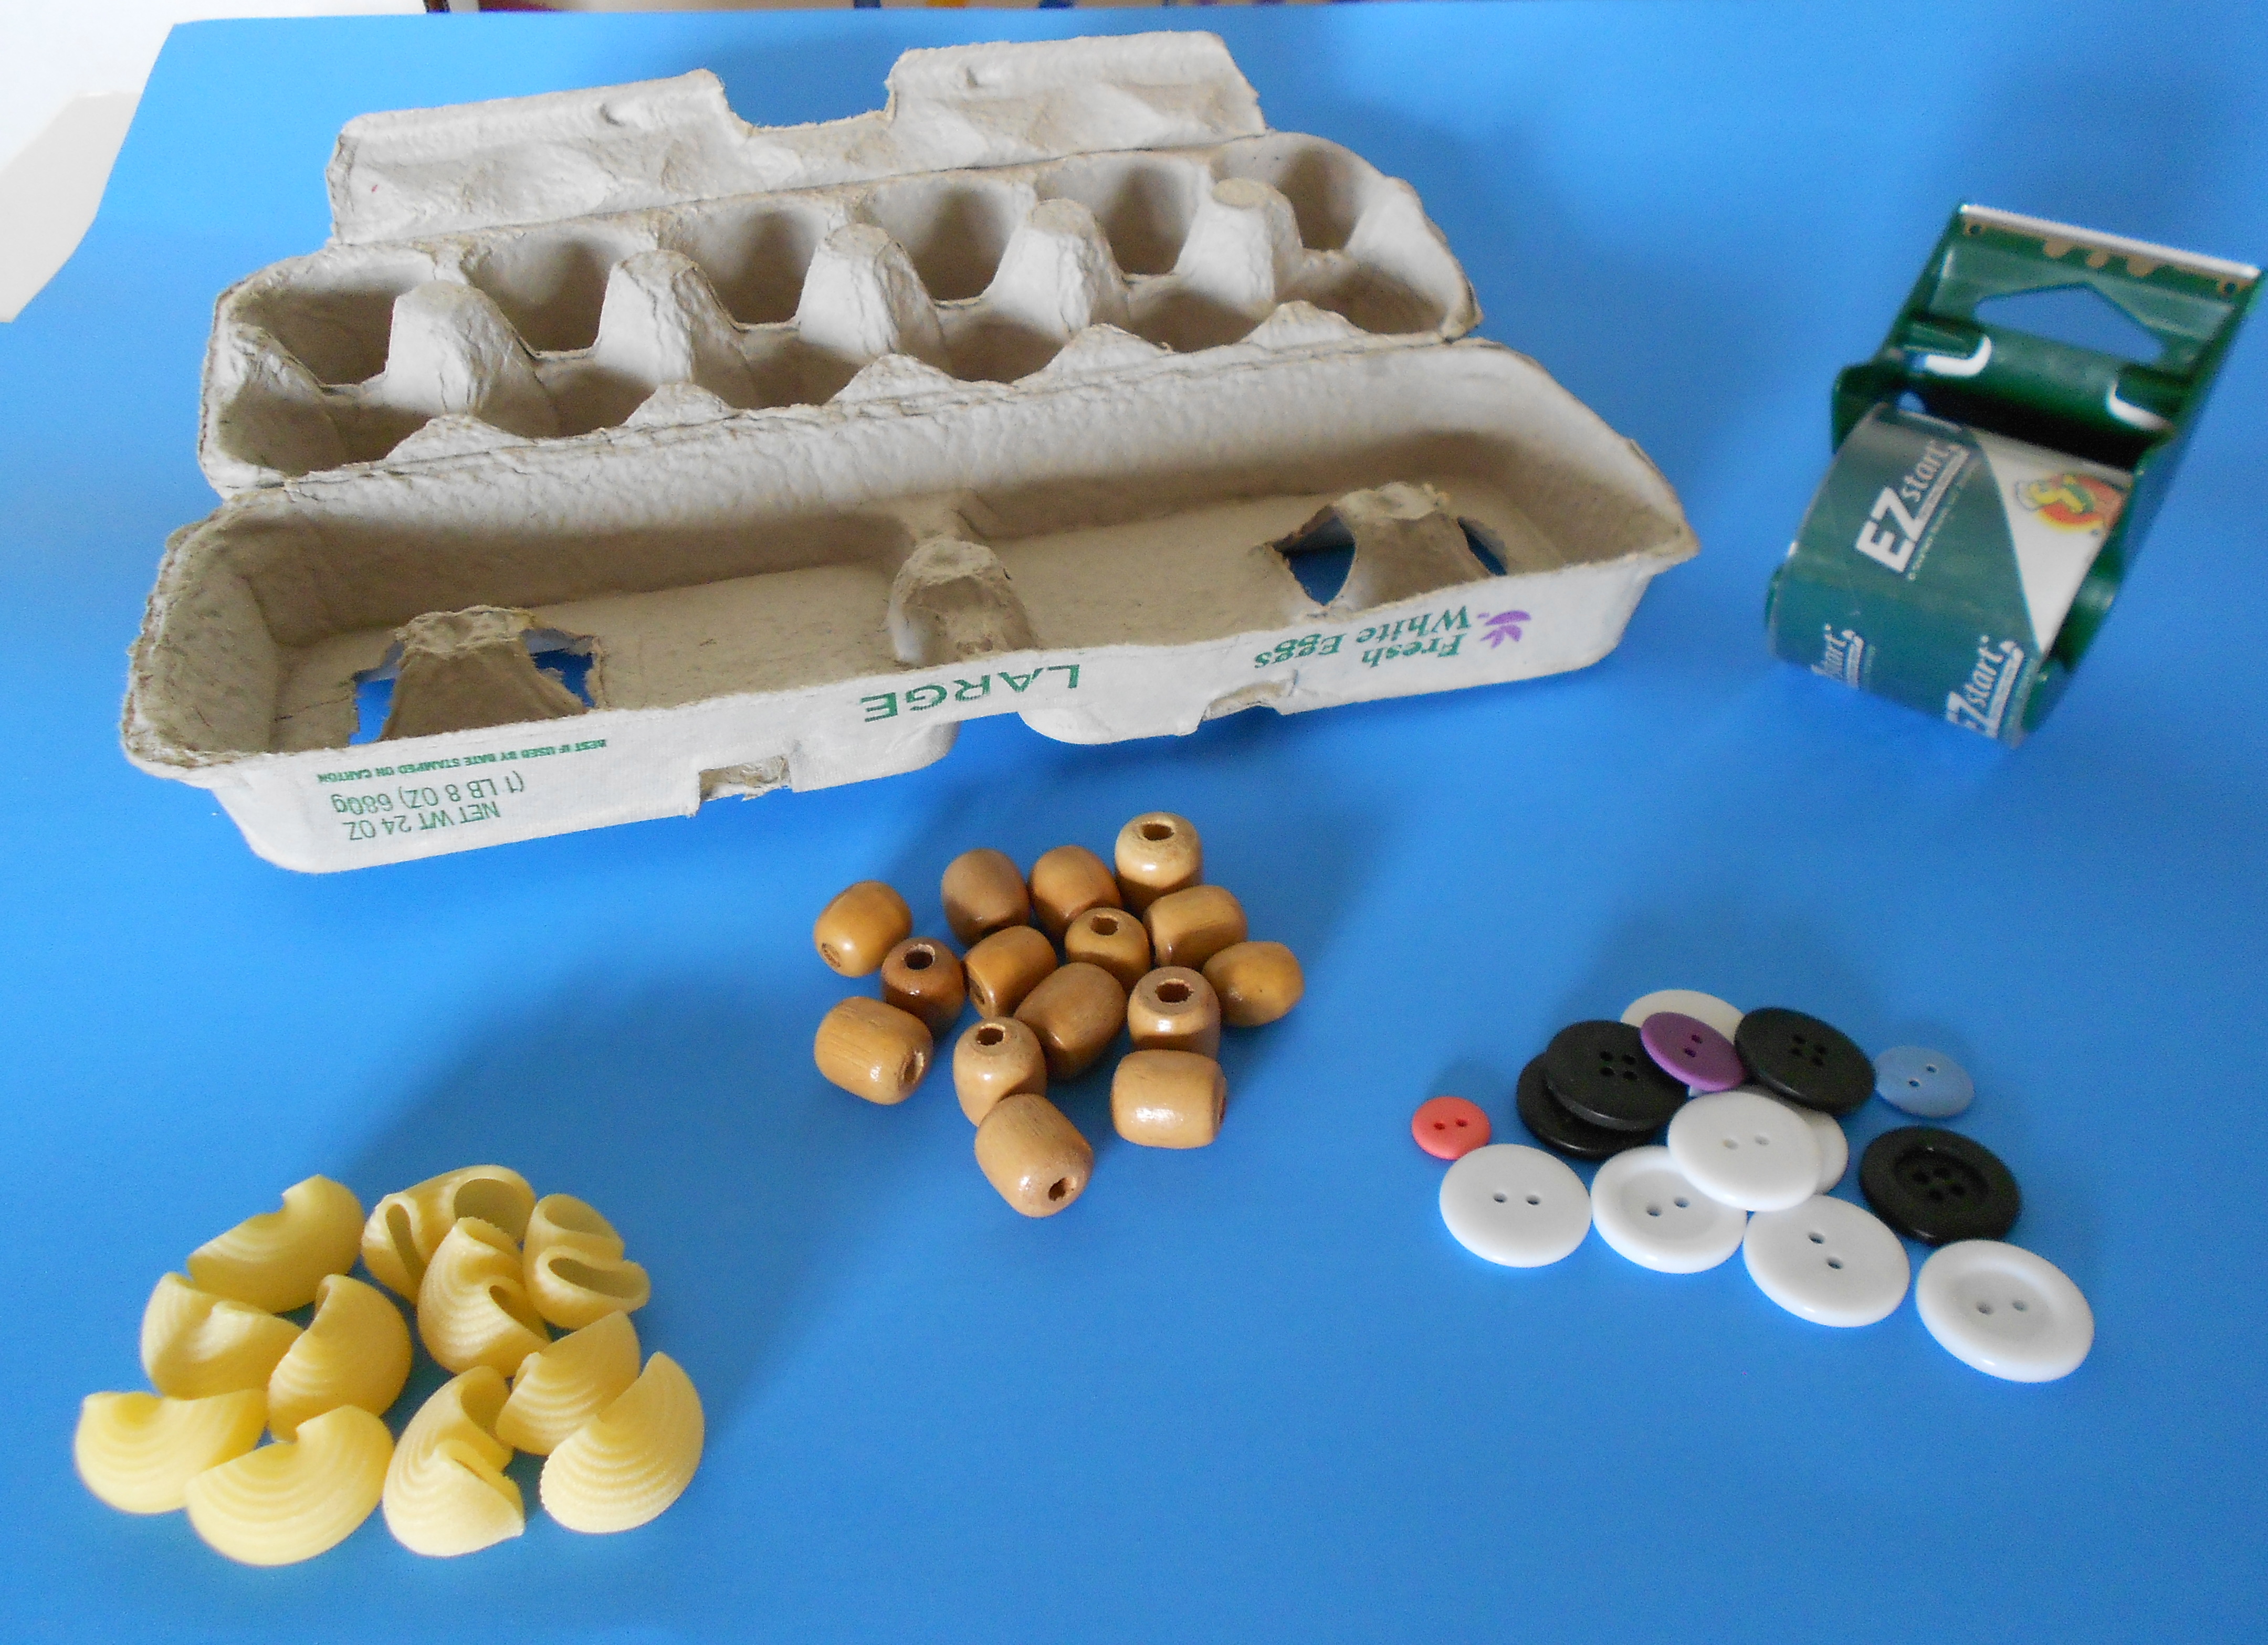
Since it’s unlikely that you have the perfect dried gourd or an old bone lying around your house, start this musical craft in your recycling bin. Sort through the plastic bottles to see if you have one that has ridges and is sturdy enough to use in this project.
Although your plastic bottle guiro is ready to play “as is”, you can also add some decoration inside the bottle and seal it up before you begin to play. You can look for things like confetti or colorful paper shreds. Or you can choose to add objects that will make the bottle work as a rattle as well. To make a guiro that doubles as a rattle, add a small amount of any on-hand material such as bird seed, beads, pebbles or dried beans, rice or pasta.
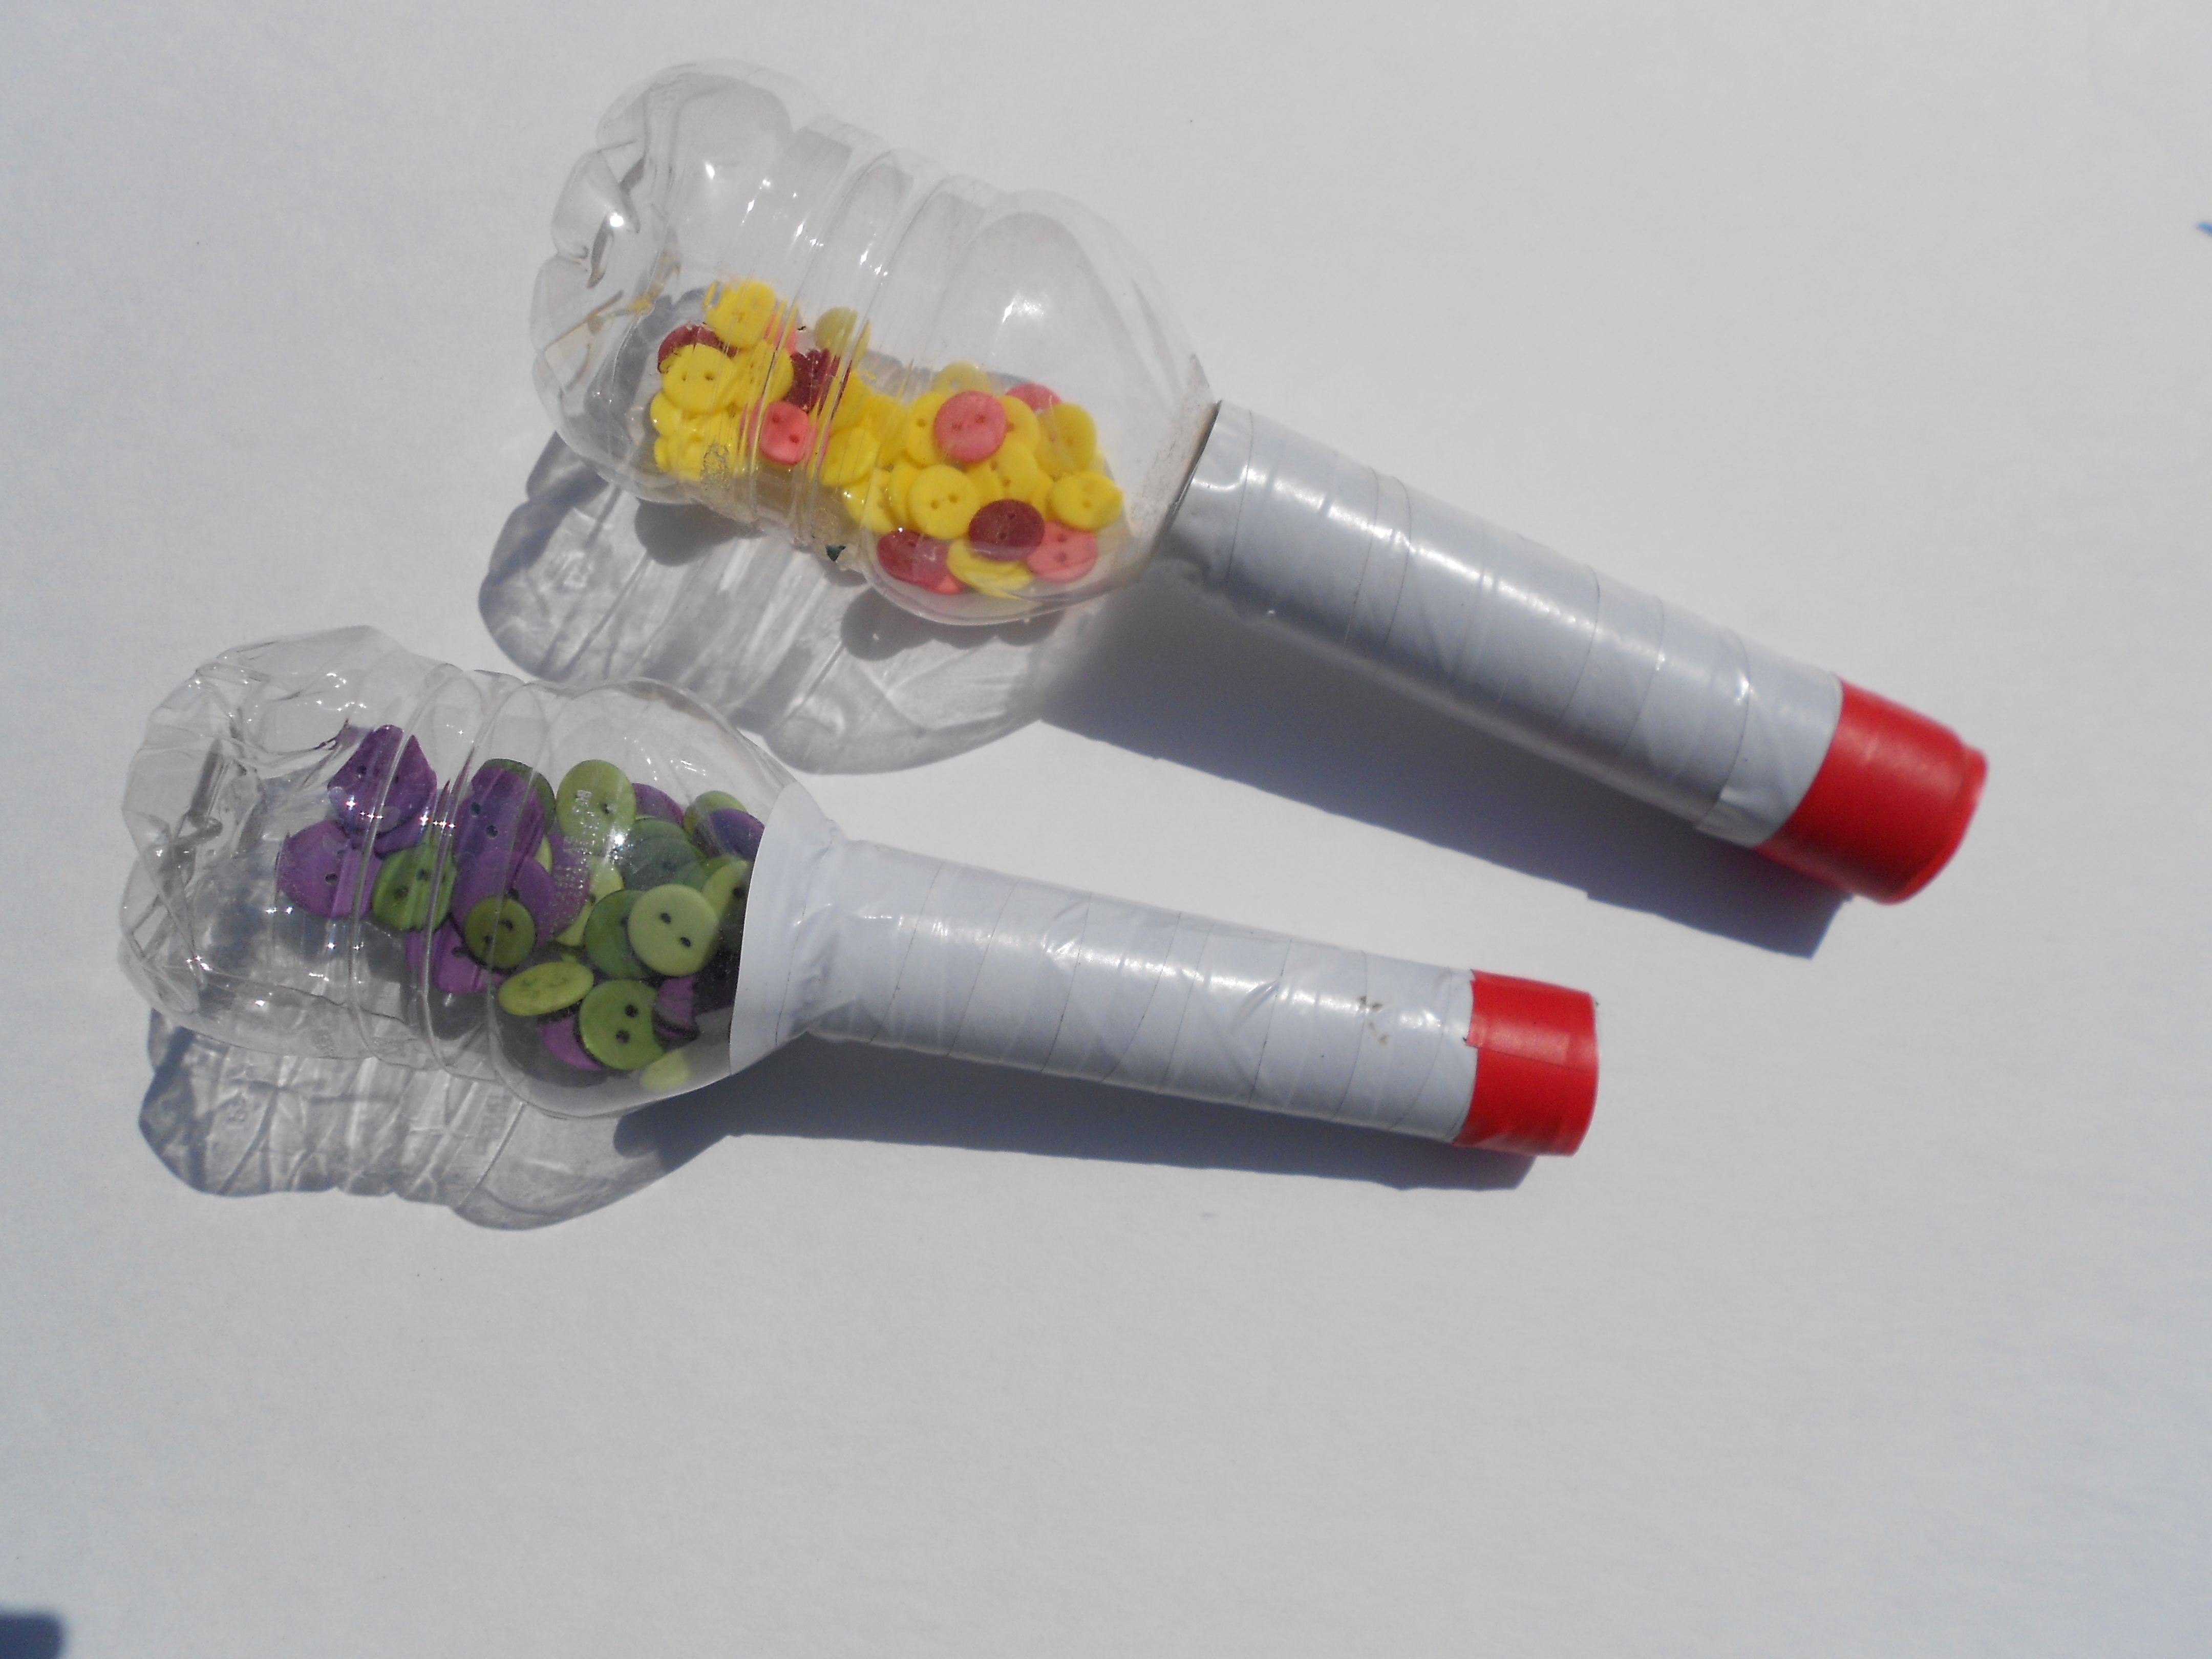
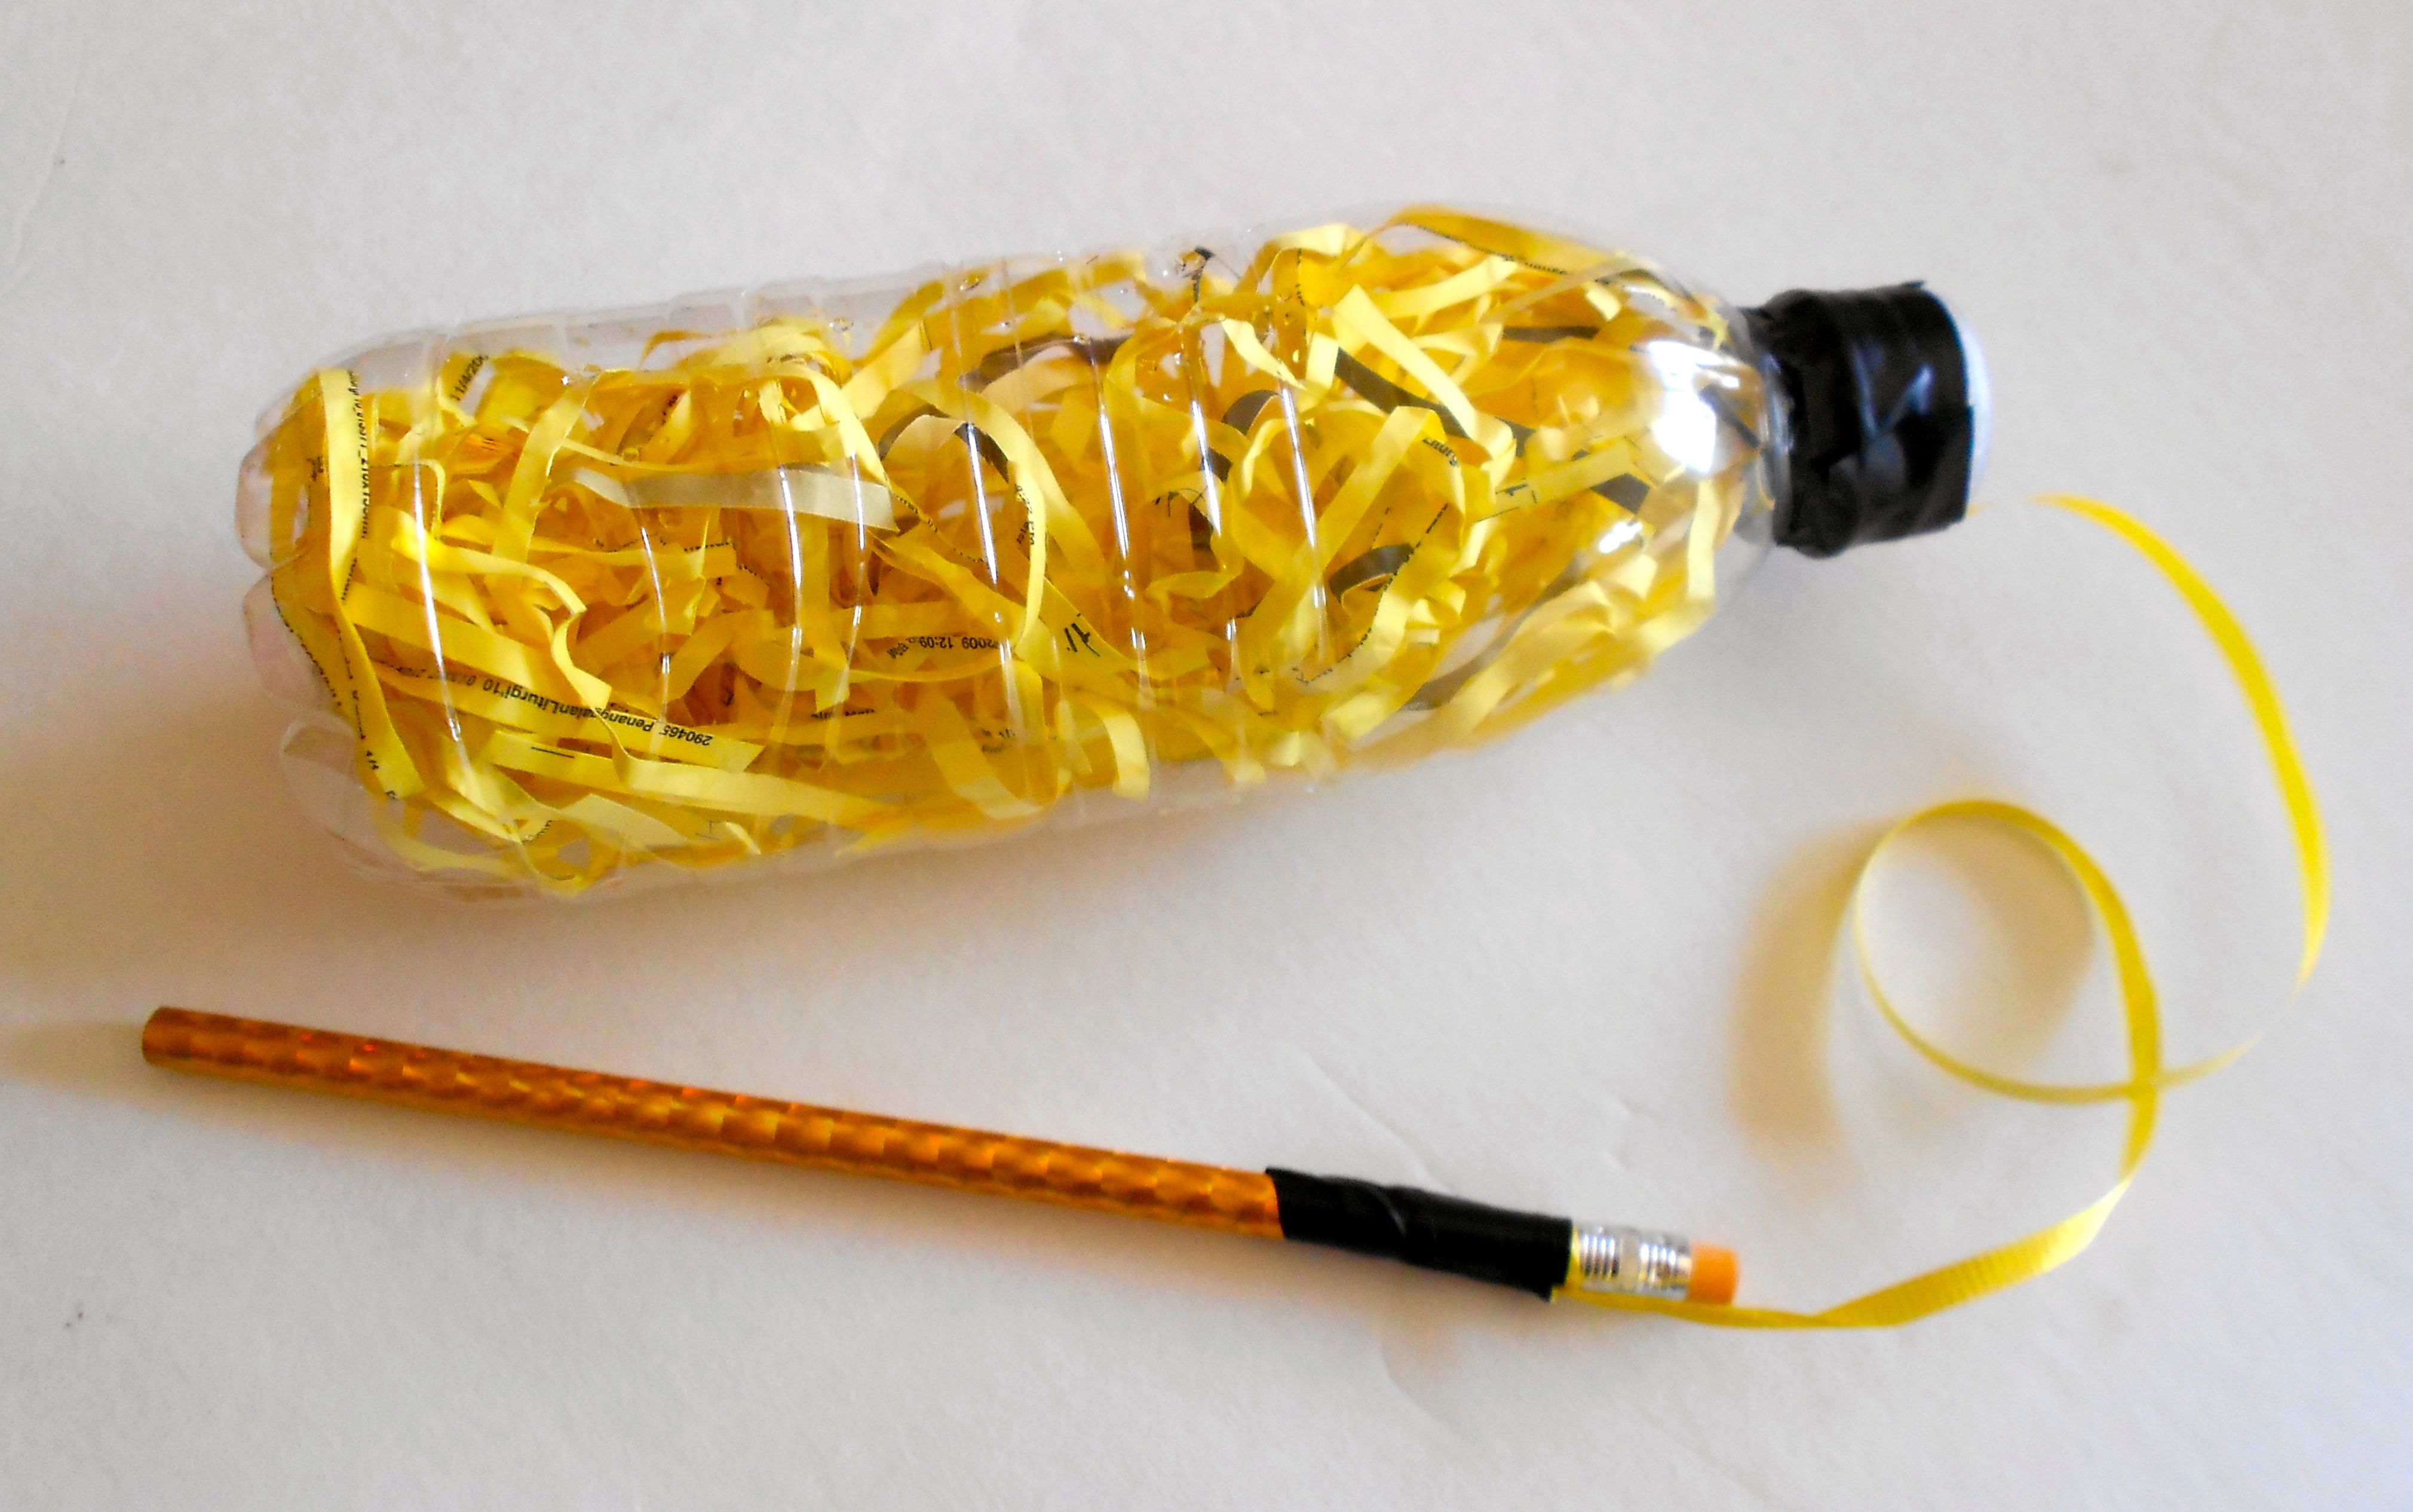 If you’ve add anything to the inside, it’s a good idea to seal the bottle with a strong tape; such as electrical tape, so the contents will stay inside and keep the bottle from being opened when played. You might even want to attach your rasp to the guiro with some colorful ribbon or yarn as in the example here
Play Your Guiro!
You’ve probably already figured this out! The guiro is played by scraping back and forth or up and down along the ridges. You can put on some of your favorite music and let your child experiment with what sounds good to them. Or you can learn some basic rhythms together with your child. Here are some fun ways to begin.
Try playing along with a whole song by just scraping down or by just scraping up.
Try playing along with a song by scraping: down/up, down/up, down/up.
Try playing along with a song by scraping:
down/up – down/up/down…, down/up – down/up/down…
Discover the patterns that sound good to your ear or write a new song to go along with a rhythm you’ve just discovered. If you start with this simple and clever little instrument, there’s no telling how much creative musical fun you can have!
Related Links:
![]() See, Hear and Color A Guiro Here:
See, Hear and Color A Guiro Here:
http://www.dariamusic.com/guiro.php
Play Along With A Bilingual Version of La Cucaracha here:


 Have you ever seen Spanish castanets? Traditional ones are beautifully crafted or carved from wood and often painted with themes like the Spanish countryside or elegant dancers. Playing the castanets is a fun way of allowing a child to develop a sense of rhythm, fine motor skills and also a great way to explore the music and culture of Spain.
 This craft is so easy that even an adult can do it! Feel free to learn and play along with your child. Simply put the button castanets between your thumb and first finger and click away. Play fast, slow, or tap back and forth between the left hand and right hand. Click or clack along to a favorite song or rhyme or put on a recording of music that you love. See if you can match the beat you hear or create a new one that works with the song.
 This post was written as a contribution to the Living Life Special Blog Carnival. The participating bloggers are sharing their experiences in parenting or teaching children with special needs. Also included are posts on how to educate others about special needs.
 A DRUM THAT SOUNDS LIKE THE OCEAN

 Travel to the rainforests by creating your own unique rainstick. Add designs from South America, Australia or the American Southwest. You can also decoupage or quilt one and it will last for years! To make a homemade rainstick, you’ll need sturdy mailing tube (with end caps) a bit of floral wire, jewelry wire, pipecleaners and some different ingredients that will help create the sound of the rain as they trickle back and forth throughout the tube.
 This week we wanted to share a guest post and a wonderfully simple musical craft and activity from Cari at Time For Play – Button Gloves!